How to Change Location on Your iPhone?
Everybody has had those moments when they longed to teleport to a remote location. Despite the fact that science hasn’t made much progress (yet), we do have the means to teleport our virtual selves.
We frequently rely on the GPS capabilities of our phones to provide us with precise weather forecasts, directions to the closest coffee shop, or the distance we’ve traveled. However, there are occasions when it is advantageous to modify our GPS position on applications like Snapchat, Facebook Messenger, Google Maps, and WhatsApp. We’ll go over how to modify your iPhone device’s GPS position in this article.
How To Change The Location On Your iPhone
Using standard VPN software, changing a Netflix region is simpler than changing a GPS location. This is so that our IP address, which has some information about our locations, may be hidden by VPN software. However, VPN software is unable to cloak our GPS position. We must buy and download a VPN with location-changing capabilities if we wish to alter the iPhone’s GPS location. The only VPN we are aware of at the moment that has that feature is Surfshark. Find out more about the VPN service by reading our review of Surfshark.
Option 1: Use a VPN
Your phone’s GPS position can be changed safely and easily using Surfshark. We appreciate that Surfshark alters our GPS positions in addition to masking our whereabouts by disguising our IP addresses. We are aware of no other VPN that provides both features. Here’s how to use Surfshark to change your location on an iPhone device:
How to Use Surfshark to Change Your GPS Location?
Step 1: Download and install the Surfshark application on your iPhone.
Step 2: Turn on the GPS spoofing feature.
Step 3: Connect to a location of your choice.
Option 2: Download a GPS spoofing application
Downloading a fake GPS location app is a substitute for downloading VPNs. If you’re downloading an app, follow these instructions to modify your GPS location:
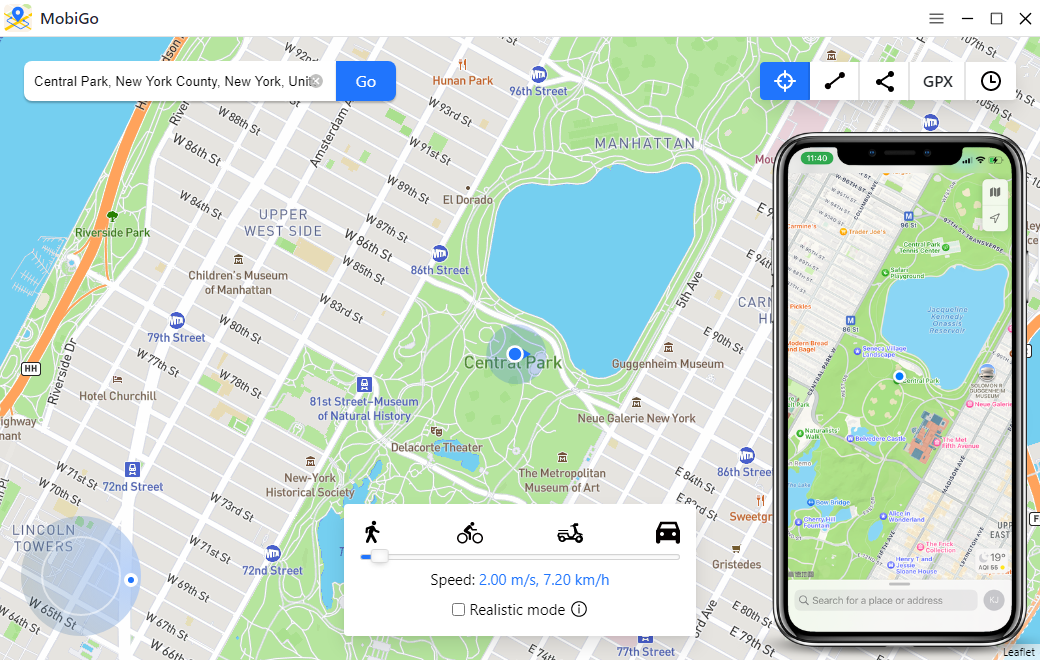
Step 1: Install a GPS location spoofer, such as AimerLab MobiGo.
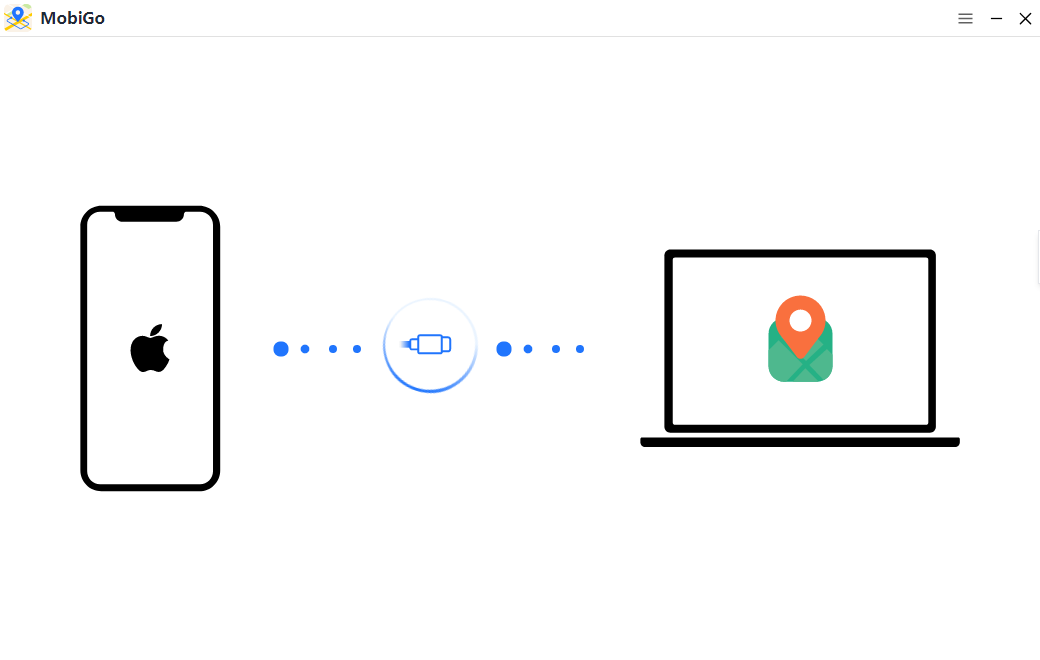
Step 2: Connect your iPhone to MobiGo on your Windows or Mac computer.
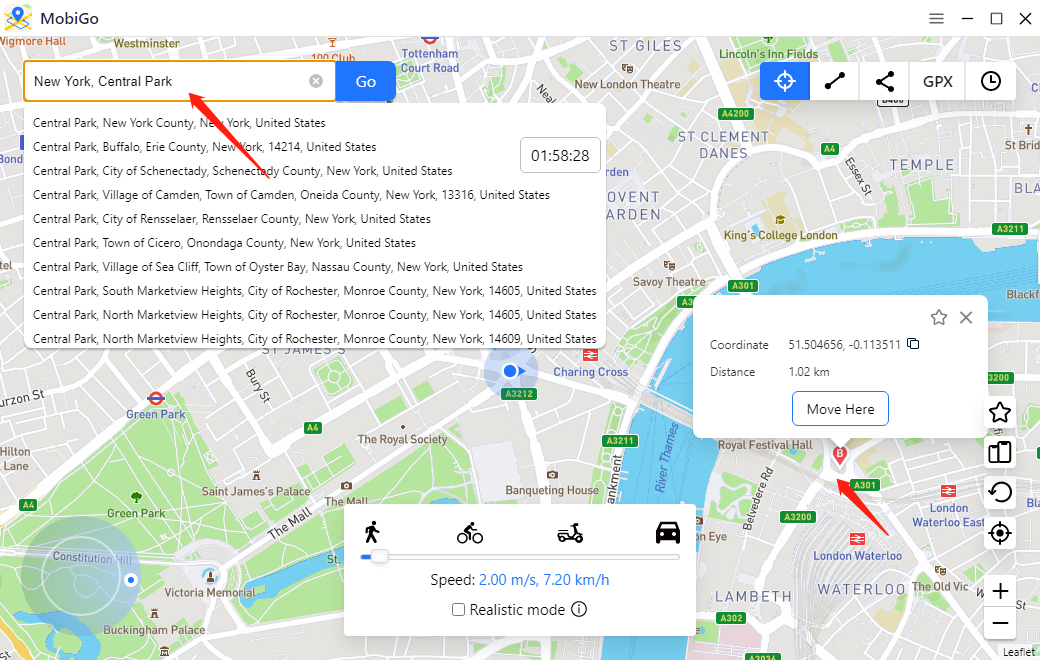
Step 3: Select the address you want to teleport to on MobiGo’ s teleport mode.
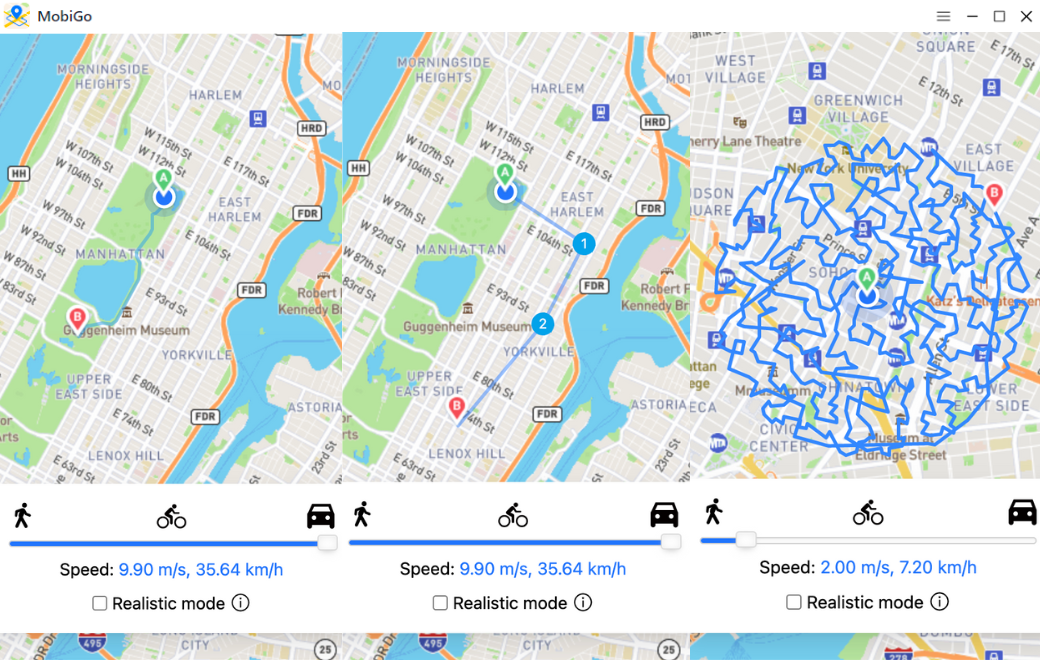
Step 4: You can also choose to simulate natural movemwnts with MobiGo’s One-stop mode, Multi-Stop mode, or directly upload your GPX files.
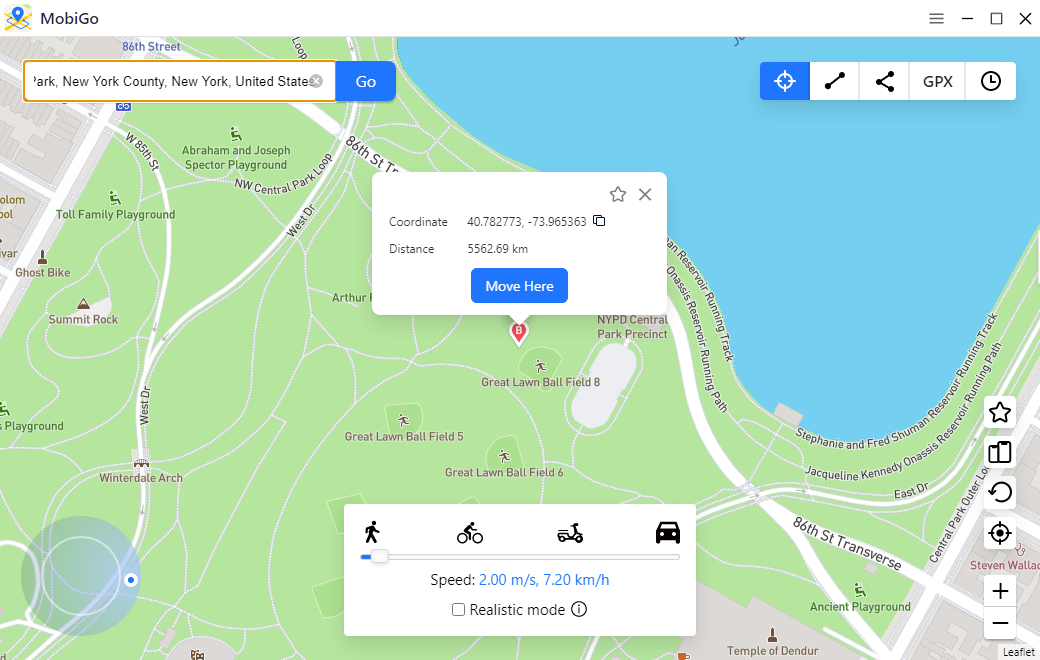
Step 5: Click the “Move Here” button, and MobiGo will instantly teleport your iPhone’s GPS location to where you want.
Step 6: Check the location on your iPhone.
Conclusion
We do not recommend VPNs for changing the location of your iPhone. Even though some exceptions exist, VPNs often lack features and security. VPNs that offer iOS applications usually have data caps and bandwidth limits, restricting their usability. Furthermore, some VPNs tend to leak information to 3rd parties, making them highly unreliable. If you really would like to choose a better and safer solution for spoofing locations, we recommend you download the AimerLab Mobigo 1-click location spoofer.
- Why Does My iPhone Screen Keep Dimming?
- iPhone Keeps Disconnecting from WiFi? Try These Solutions
- Methods for Tracking Location on a Verizon iPhone 15 Max
- Why Can’t I See My Child’s Location on iPhone?
- How to Fix iPhone 16/16 Pro Stuck on Hello Screen?
- How to Resolve Work Location Tag Not Working in iOS 18 Weather?


