How to Fix New iPhone 13/14 Stuck on Preparing to Transfer?
Encountering the “Preparing to Transfer” screen on your iPhone 13 or iPhone 14 can be frustrating, especially when you’re eager to transfer data or perform an update. In this article, we will explore the meaning behind this issue, examine the possible reasons why iPhone 13/14 devices get stuck on “Preparing to Transfer,” and provide effective solutions to fix this problem.
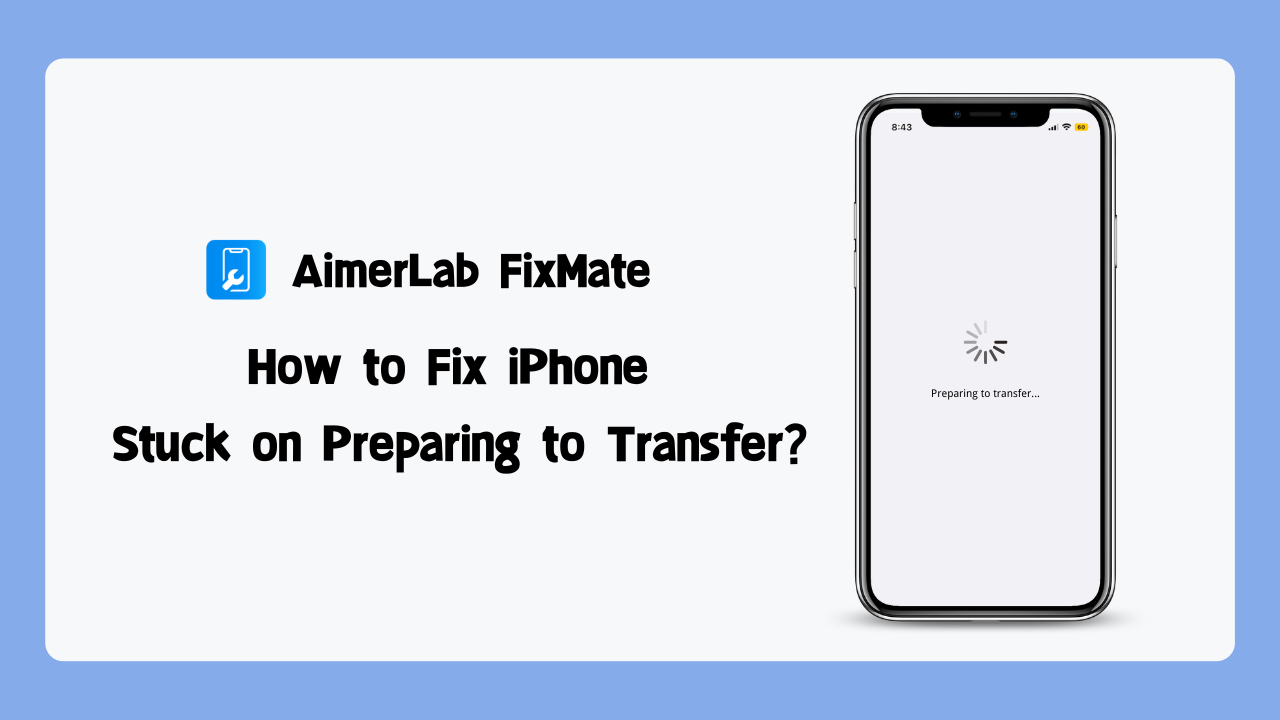
1. What does iPhone stuck on preparing to transfer mean?
The “Preparing to Transfer” message usually appears when you’re attempting to update your iPhone’s software or restore it from a backup. This stage is critical as it involves preparing your device for the transfer of data, settings, and apps. However, if your iPhone remains stuck on this screen for an extended period, it indicates that something is hindering the process.
2. Why is my iPhone 13/14 stuck on preparing to transfer
If your iPhone 13/14 is stuck on “Preparing to Transfer,” several factors could be causing the issue:
- Insufficient Storage Space: Limited available storage on your iPhone 13/14 can hinder the transfer process, causing it to get stuck on “Preparing to Transfer.”
- Connectivity Issues: Unstable internet connections, faulty cables, or interrupted Wi-Fi during the update or restore process can lead to the iPhone 13/14 getting stuck.
- Software Glitches: Occasionally, software bugs or glitches within the iOS itself can cause the transfer process to halt.
3. How to fix iPhone stuck on preparing to transfer?
If your iPhone is stuck on the “Preparing to Transfer” screen, try the following tips to resolve the issue:
3.1 Restart your iPhone
Press and hold the power button until the “Slide to power off” option appears. Slide it to power off your device, and then press and hold the power button again to turn it back on. This simple restart may help in resolving any temporary software glitches.
3.2 Check Storage Space
Insufficient storage on your iPhone 13/14 can hinder the transfer process. Go to Settings > General > iPhone Storage and check how much space is available. Delete unnecessary files, apps, or media to free up storage.
3.3 Verify Connectivity
Ensure that you have a stable internet connection. If you’re using Wi-Fi, try switching to a different network or resetting your router. If you’re transferring data using a cable, ensure that the cable is properly connected and not damaged.
3.4 Update iTunes/Finder and your iPhone
If you’re using a computer for the transfer, make sure you have the latest version of iTunes (on Windows) or Finder (on Mac) installed. Outdated software versions may cause compatibility issues. Make sure your iPhone 13/14 is running the latest version of iOS. Go to Settings > General > Software Update. If an update is available, download and install it.
3.5 Reset Network Settings
Resetting network settings can help fix any network-related issues that might be interfering with the transfer process. Go to Settings > General > Reset > Reset Network Settings. Note that this will remove saved Wi-Fi passwords and other network settings.
3.6 Try a different USB cable or port
If you’re connecting your iPhone 13/14 to a computer via USB, try using a different cable or USB port. A faulty cable or port can cause connection issues.
3.7 Restore in DFU mode
If all else fails, you can try restoring your iPhone 13/14 using DFU (Device Firmware Update) mode. Connect your iPhone to your computer, launch iTunes or Finder, and follow the instructions to enter DFU mode.
4. Advanced method to fix iPhone stuck on Preparing on transfer
If you have tried all the recommended solutions and your iPhone is still stuck on “Preparing to Transfer,” but still can’t resolve this problem, it’s advisable to use the AimerLab FixMate iOS system repair tool. It 100% works and can helps you fix over 150 different iOS system issues, such as stuck on preparing on transfer, stuck on preparing update, stuck in SOS mode, stuck on recovery mode or DFU mode, and any other iOS system issues.
Let’s check how to fix iPhone stuck on preparing on transfer with AimerLab FixMate:
Step 1: Click “Free Download” to get AimerLab FixMate and set it up on your PC.
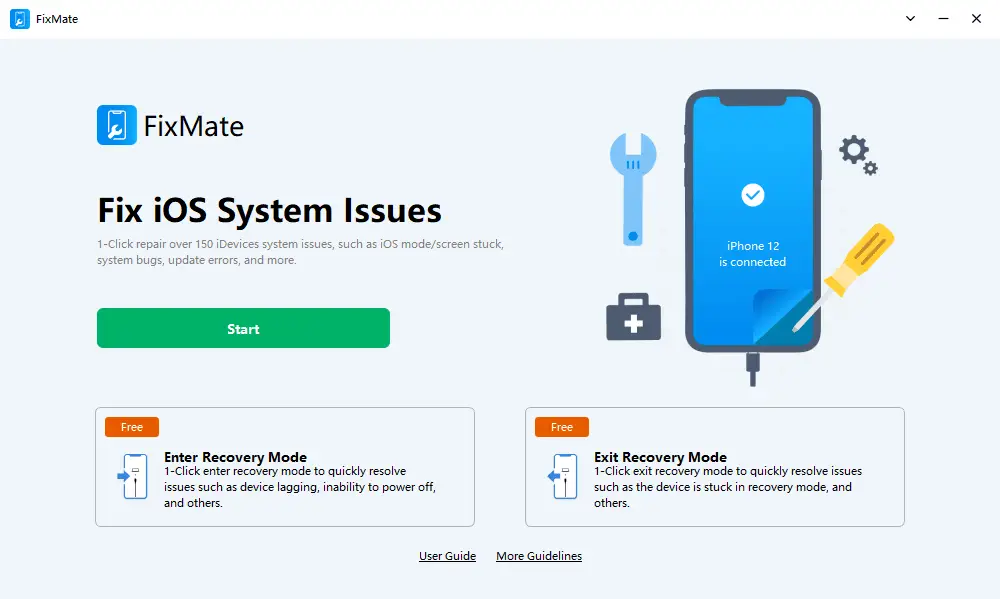
Step 2: Open FixMate and connect your iPhone to your PC using a USB cord. When your device has been identified, click “Start” on the main interface.
Step 3: Select your preferred mode from “Standard Repair” and “Deep Repair“. Standard repair helps to resolve common issues without causing data loss, while deep repair resolves more serious issues but deletes data from the device.
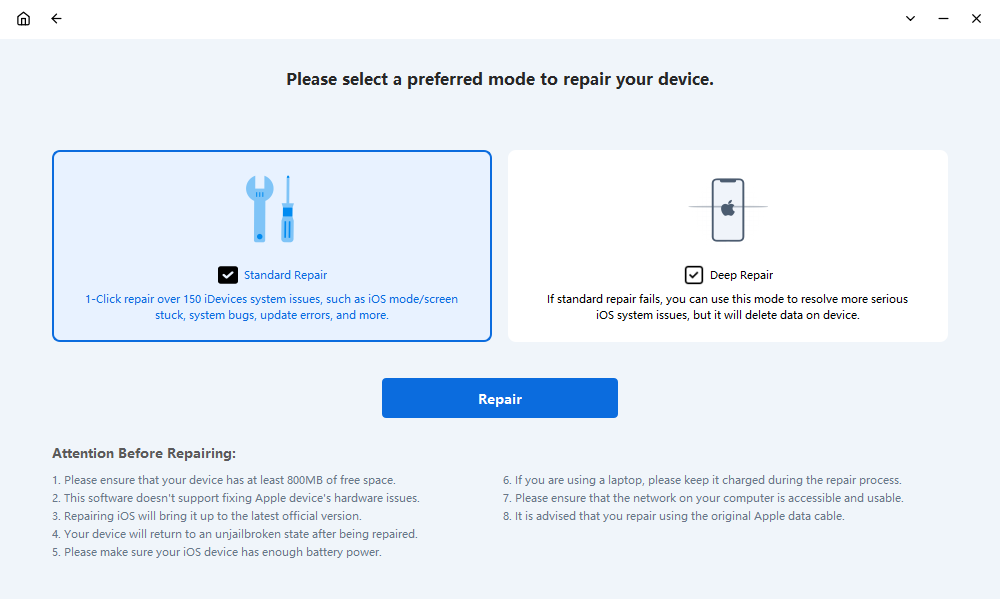
Step 4: Click “Repair” to begin downloading firmware onto your computer after choosing the firmware version and verifying your internet connection.
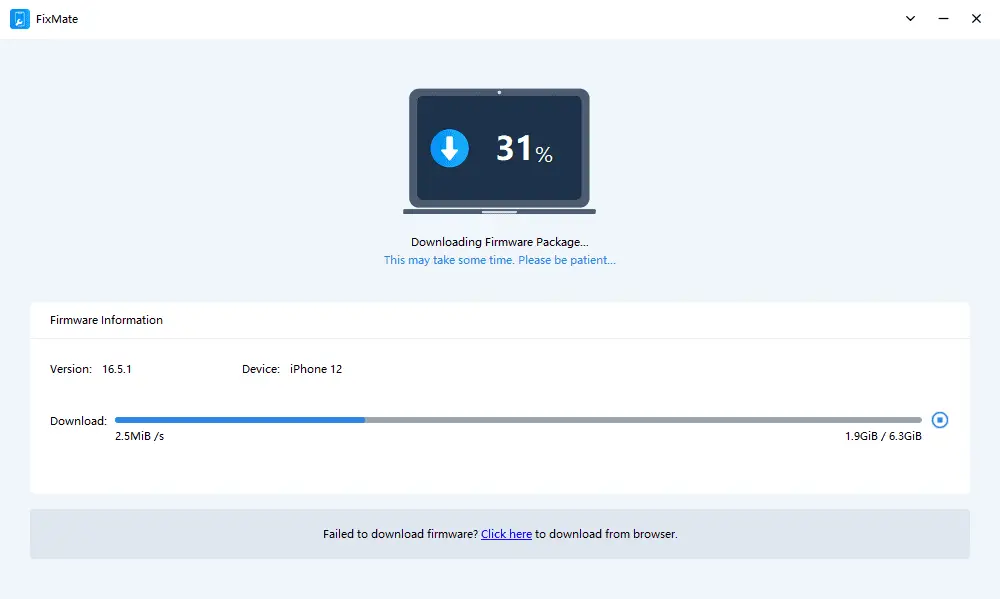
Step 5: Once the firmware package has been downloaded, FixMate will start to repair all of your iPhone’s system issues, including stuck on preparing to transfer.
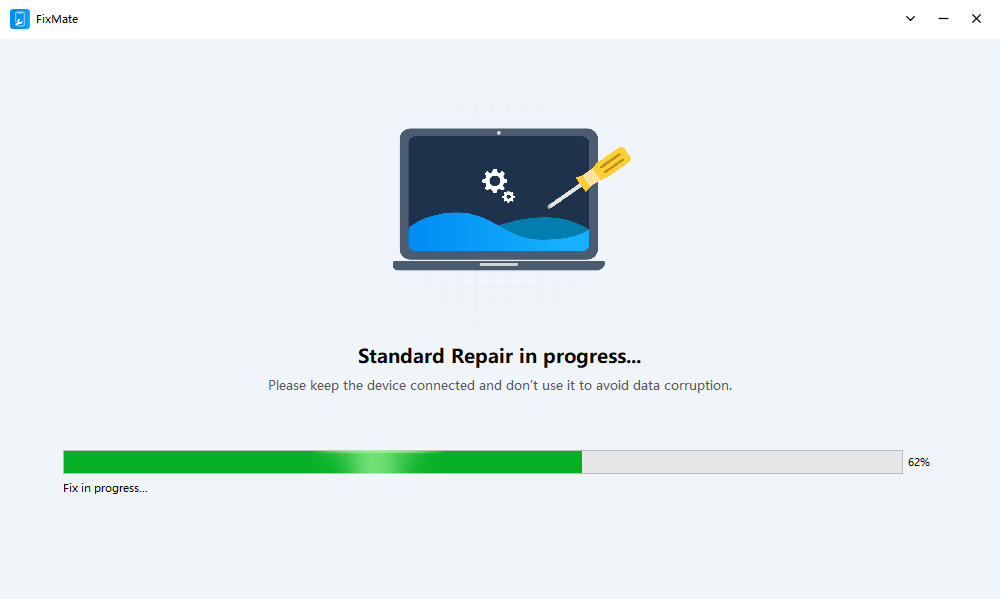
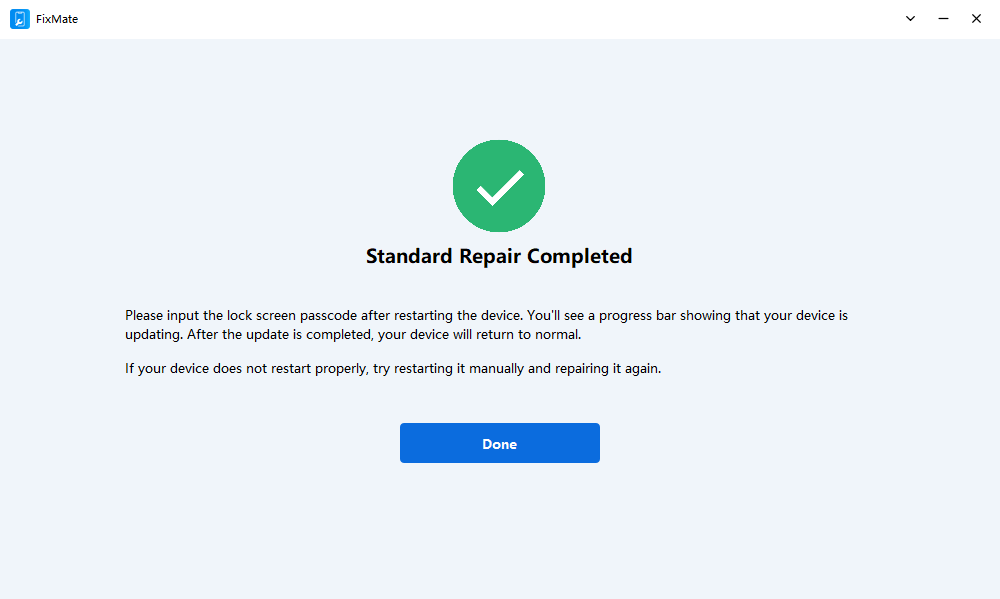
Step 6: After the repair is finished, your iPhone will reboot and go back to its normal state, at which time you can use it as usual.
5. Conclusion
Dealing with an iPhone stuck on “Preparing to Transfer” can be frustrating, but with the right troubleshooting steps, you can resolve the issue. By understanding the causes and following the provided solutions, you can overcome this problem and successfully update or restore your iPhone 13/14. Remember to download and try AimerLab FixMate iOS system repair tool if you want fix your problem successfully and more quickly.
- Methods for Tracking Location on a Verizon iPhone 15 Max
- Why Can’t I See My Child’s Location on iPhone?
- How to Fix iPhone 16/16 Pro Stuck on Hello Screen?
- How to Resolve Work Location Tag Not Working in iOS 18 Weather?
- Why My iPhone Is Stuck on the White Screen and How to Fix It?
- Solutions to Fix RCS Not Working on iOS 18


