How to Fix iPhone Stuck on Diagnostics and Repair Screen?
1. What Is iPhone Diagnostics Mode?
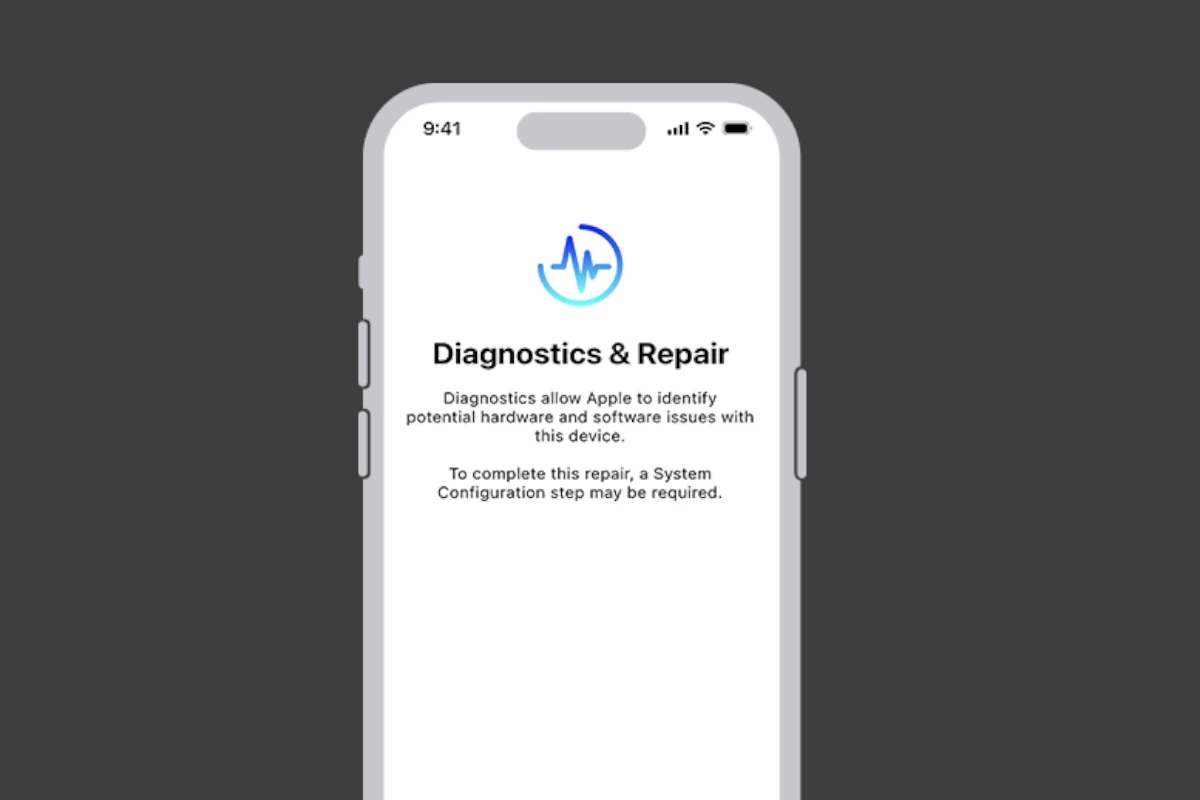
iPhone Diagnostics Mode is a specialized tool embedded in iOS designed for troubleshooting hardware and software issues. This mode provides detailed information about the device’s performance, including battery health, connectivity, and internal hardware status.
Apple and authorized technicians primarily use diagnostics mode during repairs or servicing to identify malfunctions without opening the device physically. However, diagnostics mode may sometimes activate unexpectedly or fail to exit properly, causing the phone to freeze on the “Diagnostics and Repair” screen.
2. How to Run Diagnostics on iPhone?
Running diagnostics on your iPhone can help you determine if there’s an underlying issue with your device. Here’s how you can initiate diagnostics:
2.1 Using Apple Support App
- Get the Apple Support app and install it on your iPhone.
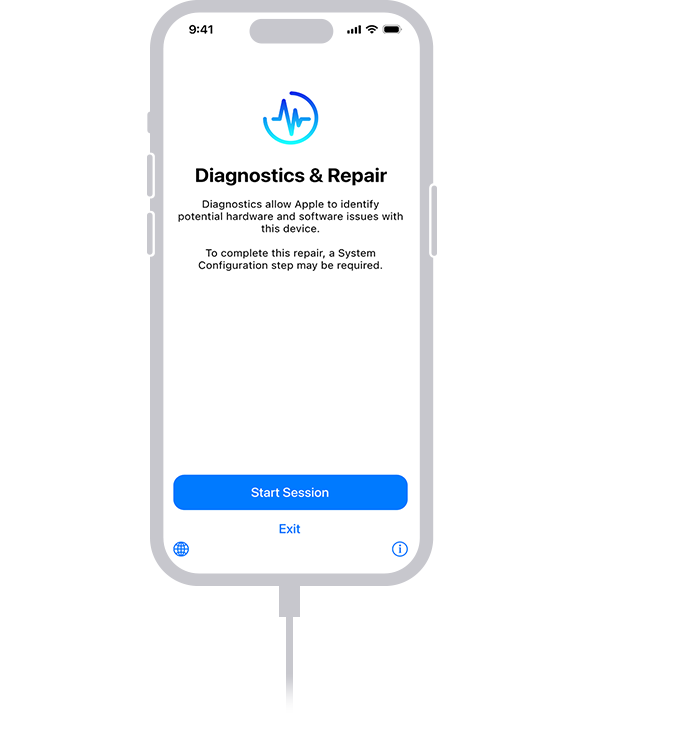
- Navigate to Get Support > Device Performance Issues > Run Diagnostics and Start Sessoin.
- Start the diagnostics on your device by following the on-screen prompts.
2.2 Through Settings
- Navigate to General > About by opening the Settings panel.
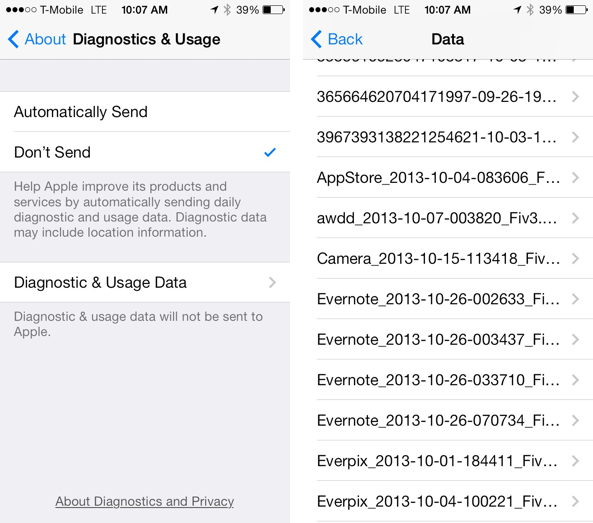
- If your device detects any hardware issues, it will display a Diagnostics & Usage option, where you can perform a test.
2.3 Via Remote Support
Contact Apple Support, and they may guide you to a URL (e.g., https://getsupport.apple.com/self-service-diagnostics) where you can run a diagnostics test remotely.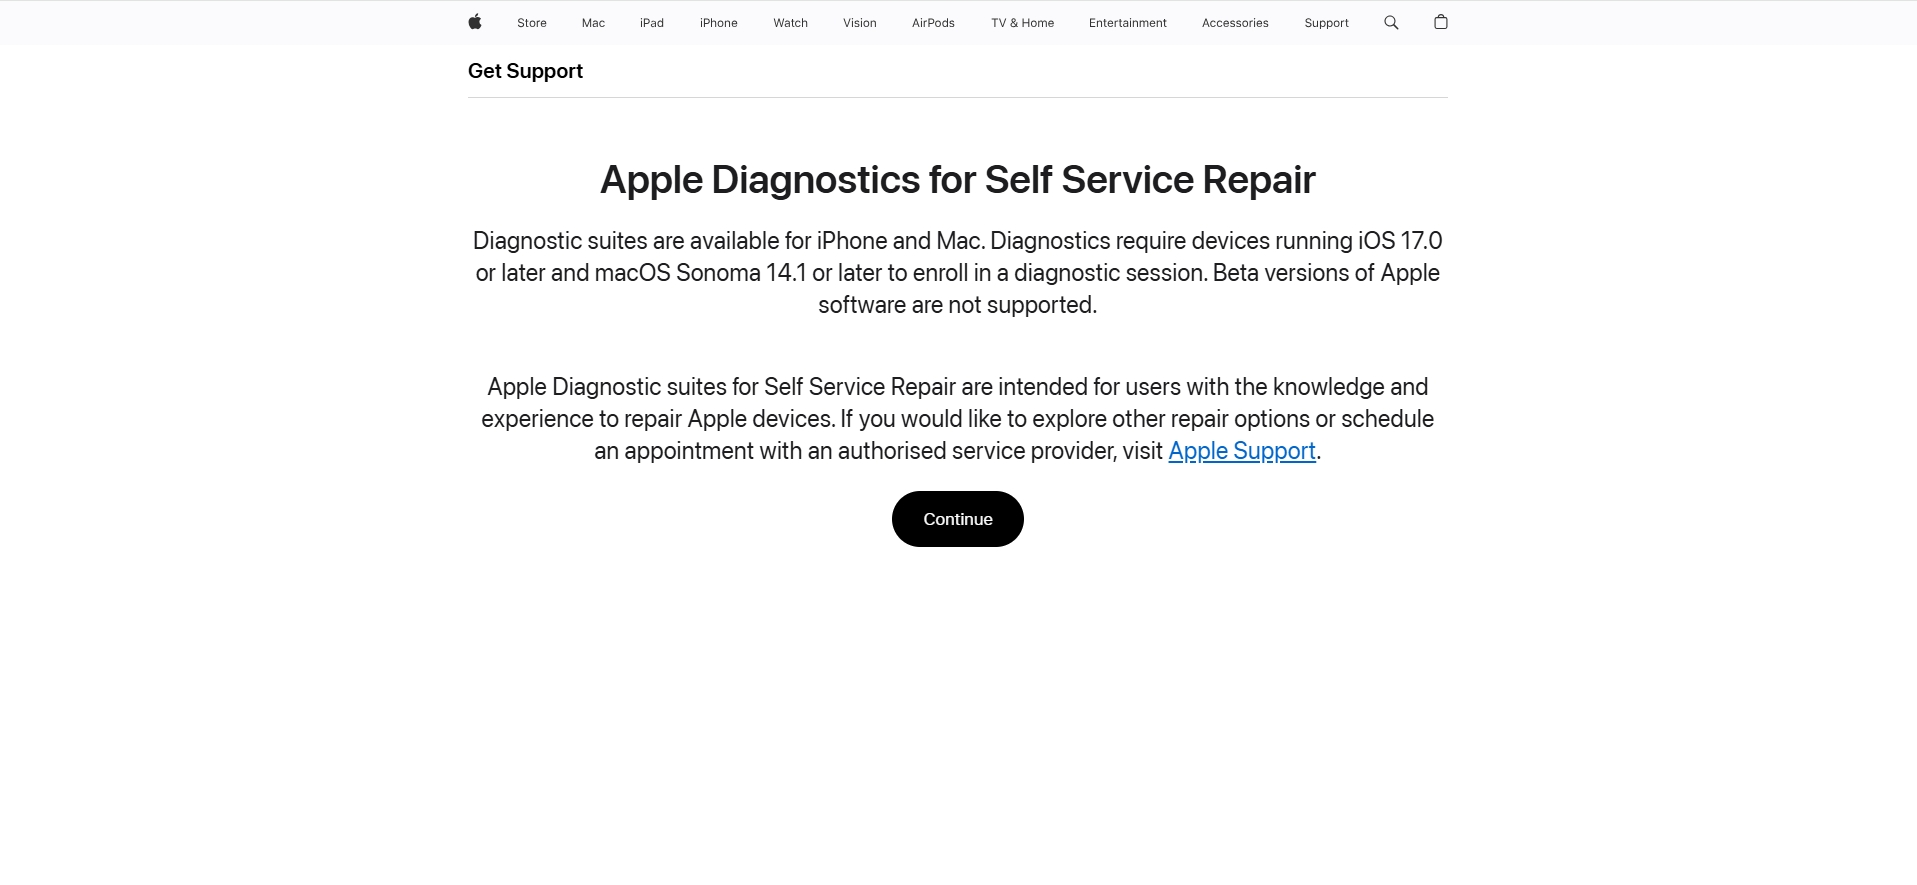
2.4 Using a Combination of Buttons
Restart the iPhone and hold specific buttons (like the volume and power buttons) when prompted to enter diagnostics mode. This option is generally for advanced users or technicians.
While these methods are helpful for troubleshooting, problems arise when the diagnostics mode becomes unresponsive.
3. How to Fix iPhone Stuck on Diagnostics and Repair Screen?
If your iPhone is stuck on the “Diagnostics and Repair” screen, follow these steps to restore functionality:
3.1 Force Restart Your iPhone
A force restart is often the simplest way to resolve the issue.
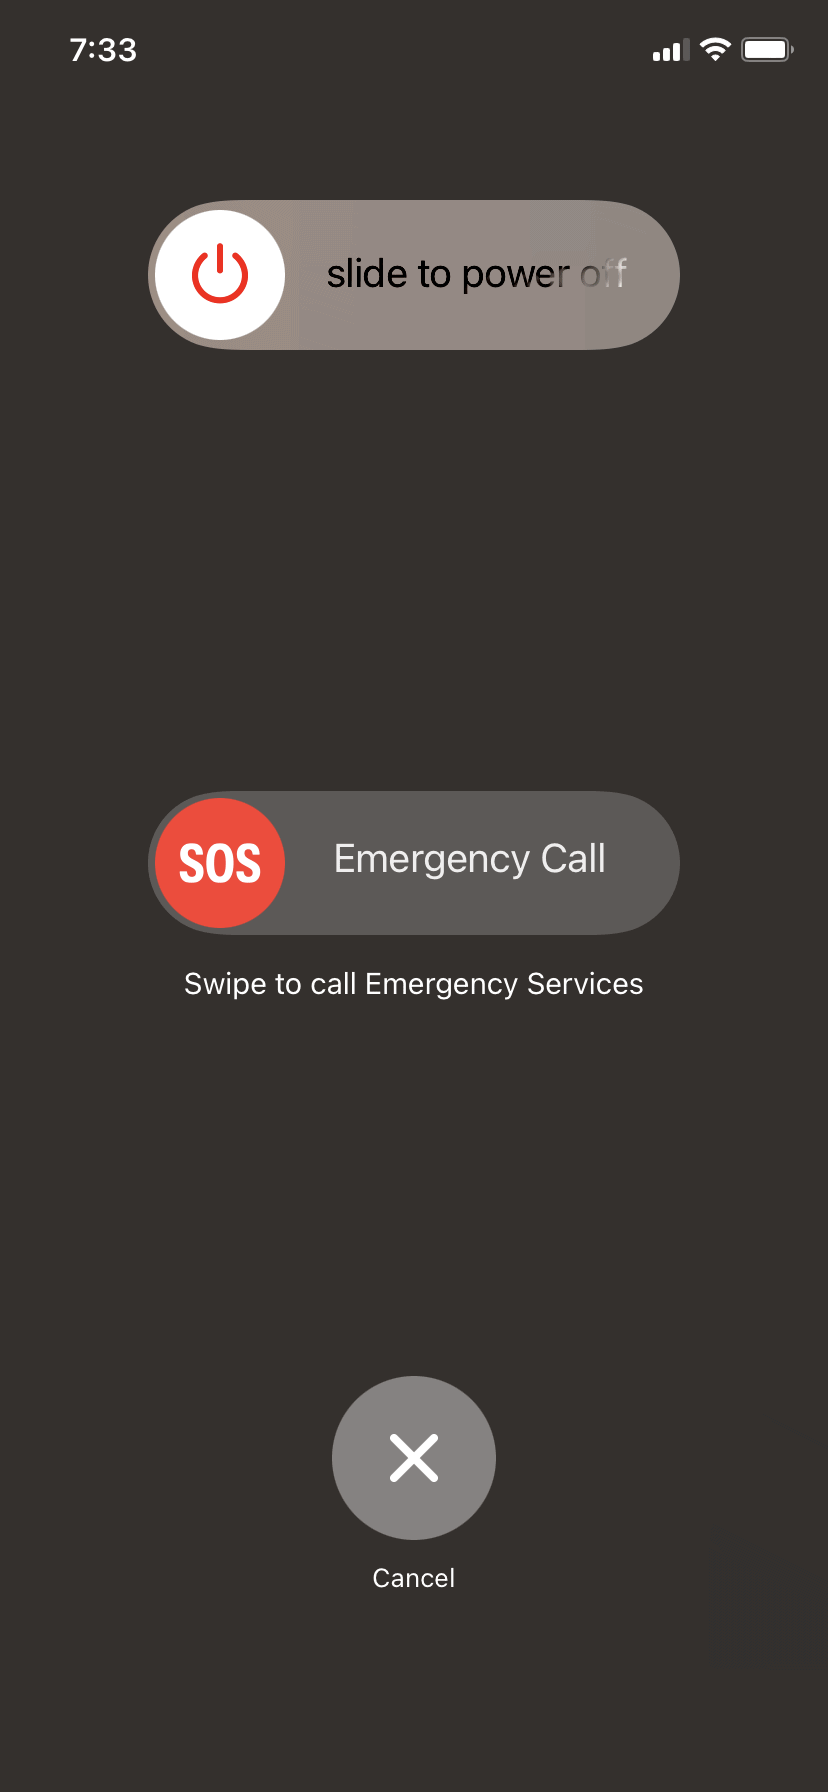
- For iPhone 8 and later: Press and hold the Volume Up, Volume Down, and Side buttons on your device until the Apple logo appears.
- For iPhone 7/7 Plus: Hold the Volume Down and Power Button simultaneously until the Apple logo appears.
- For iPhone 6 and earlier: Hold the Home and Power Button simultaneously until the Apple logo appears.
3.2 Update or Restore via iTunes/Finder
Connecting your device to a computer and using iTunes (or Finder on macOS Catalina and later) can help resolve software issues.
- Put your iPhone into Recovery Mode.
- Select Update to restore iOS without wiping off your data.
- If Update doesn’t work, select Restore to reset the device entirely.

3.3 Reset Settings
If the device becomes responsive but still experiences glitches:
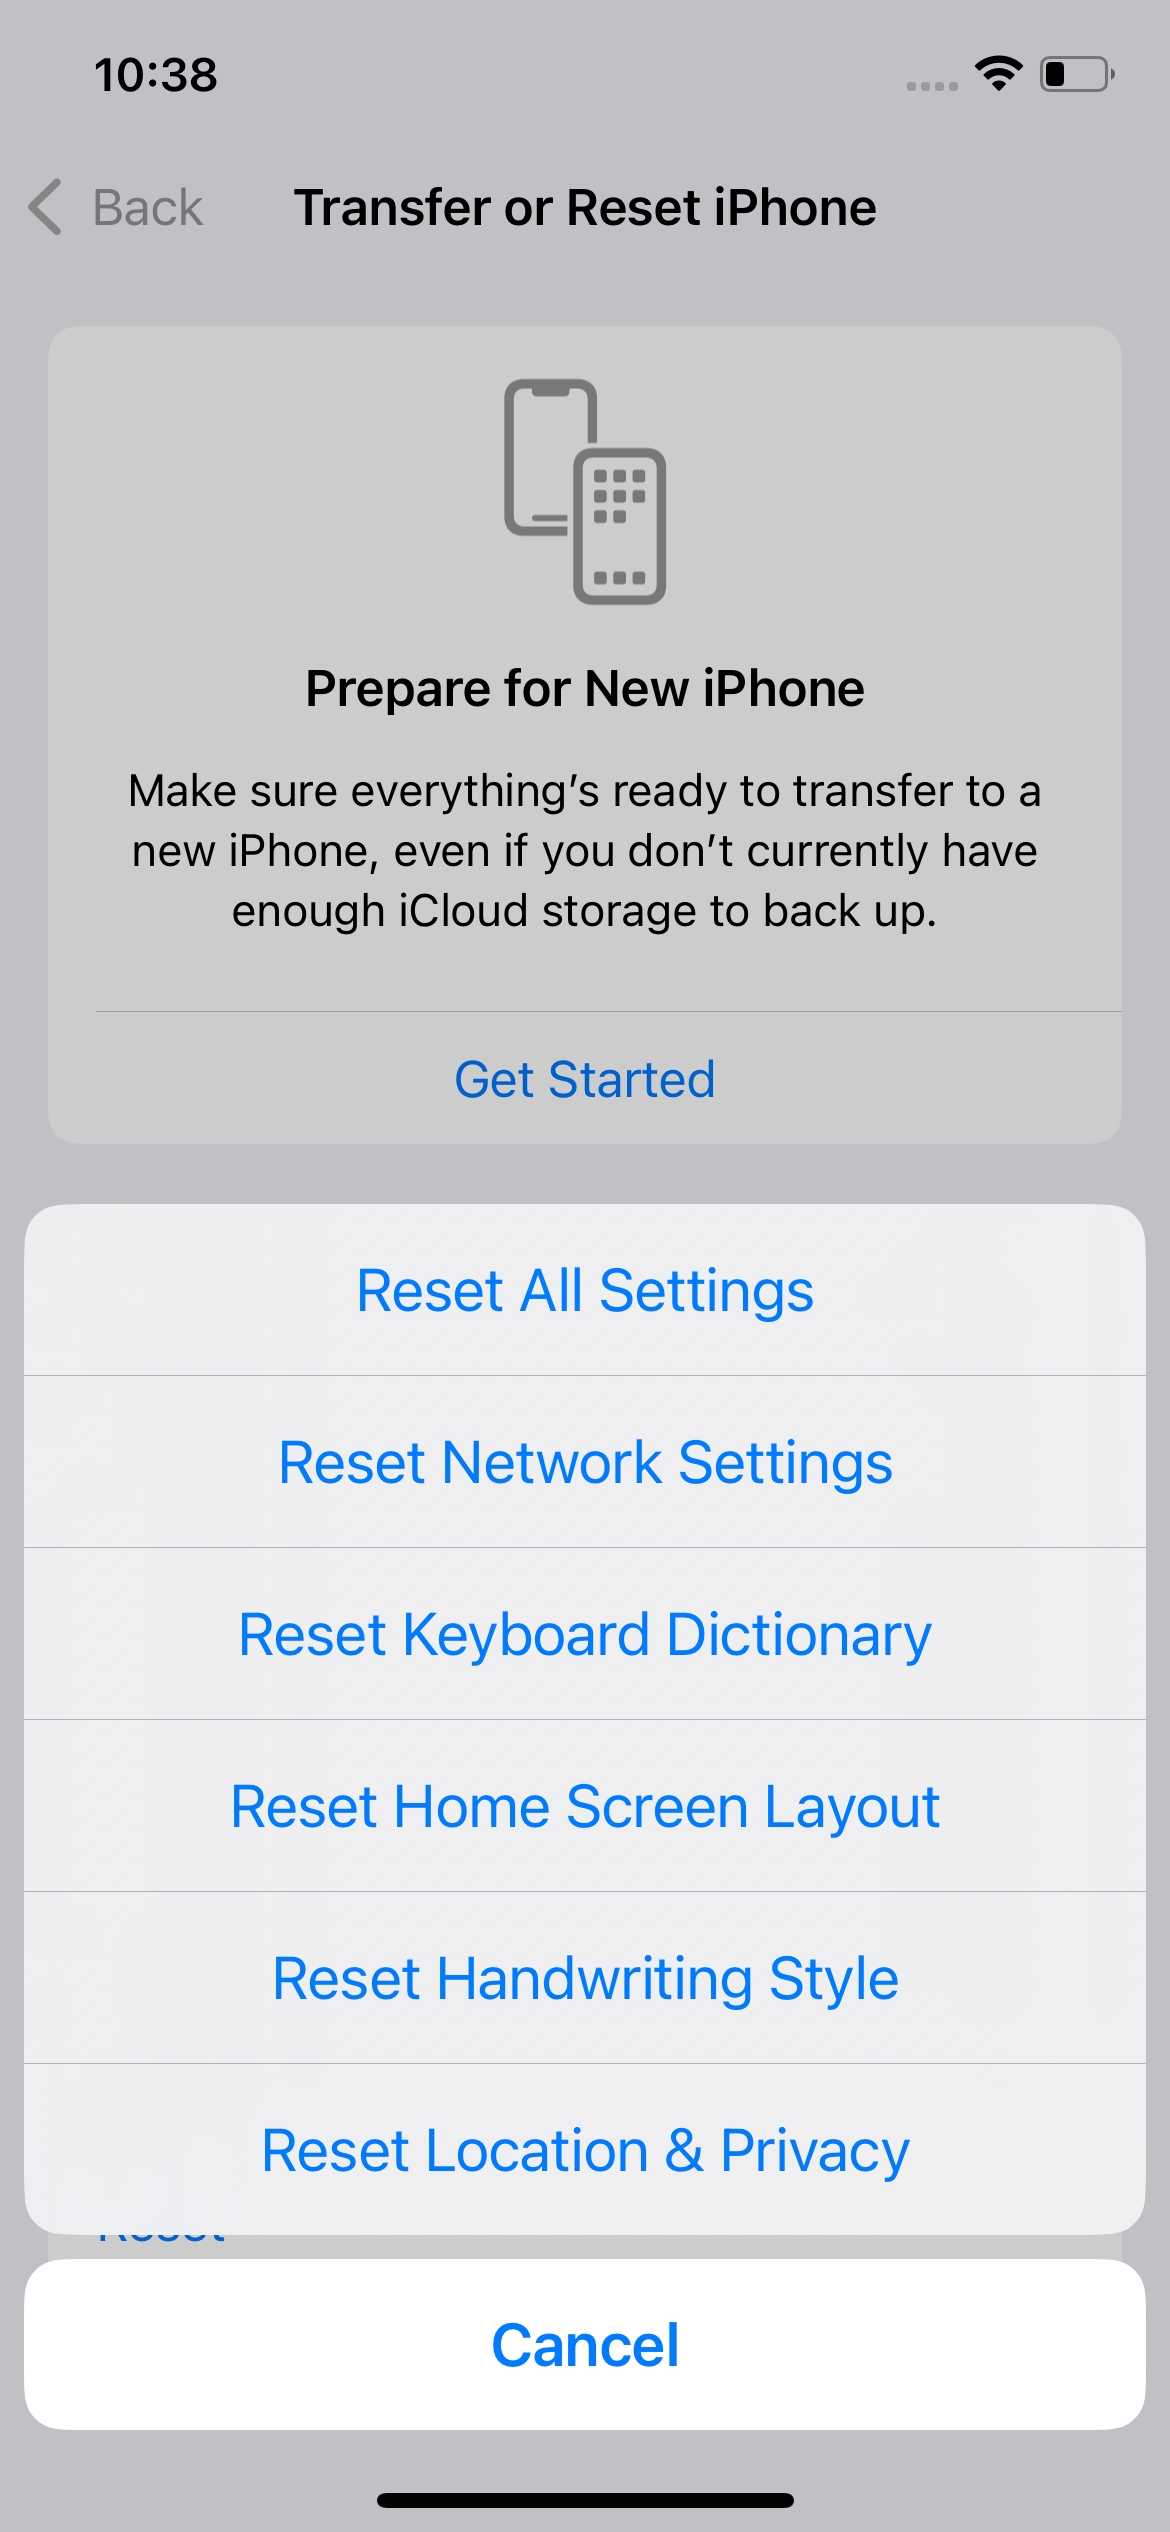
To reset all of your settings, go to Settings > General > Reset > Reset All Settings; This will restore all settings to their defaults without erasing personal data.
3.4 Contact Apple Support
If none of the above methods work, contacting Apple Support or visiting an Apple Store may be necessary. A technician can manually diagnose and repair your device.
4. Advanced Fix iPhone Stuck on Diagnostics and Repair Screen with AimerLab FixMate
For persistent issues, professional software like AimerLab FixMate provides a reliable, user-friendly solution. AimerLab FixMate is a powerful iOS repair tool designed to resolve various iPhone issues such as boot loops, black screens, and being stuck in diagnostics mode. It ensures your data remains intact while fixing the device efficiently.
Steps to fix Your iPhone diagnostics and repair screen stuck issue with FixMate:
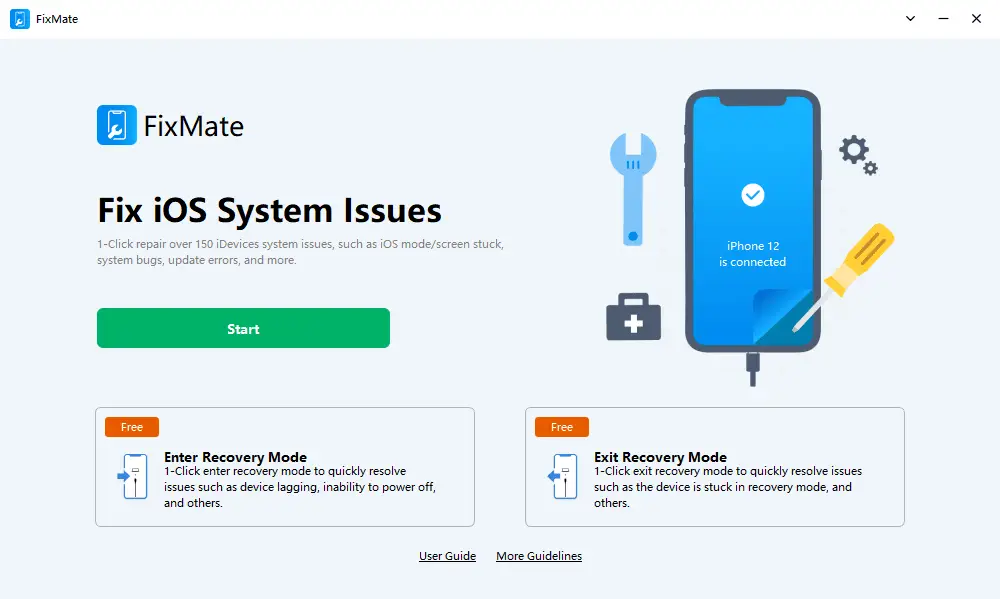
Step 1: Download the FixMate software by tapping the installer download button below, then install it on your Windows computer.
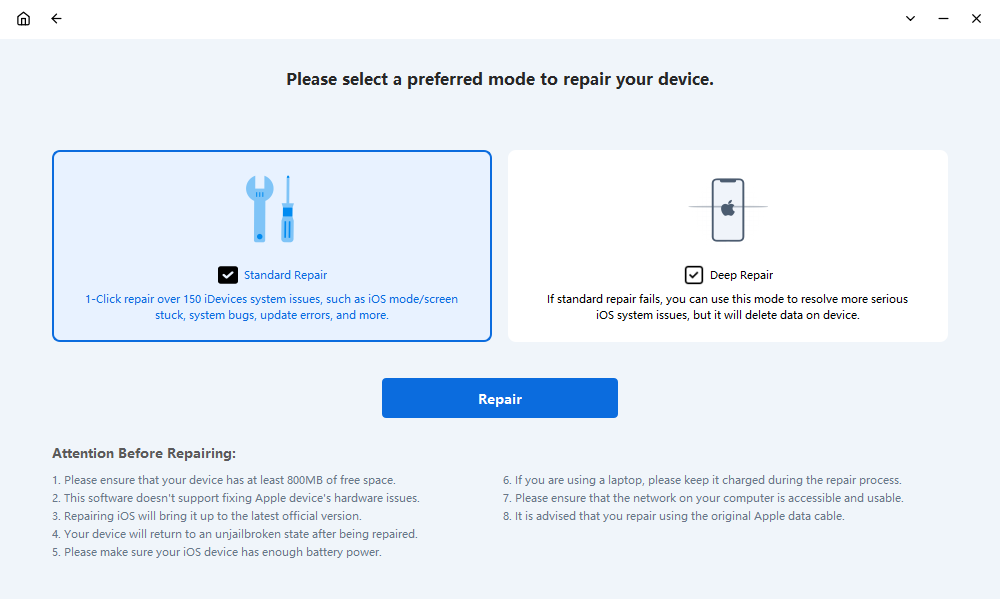
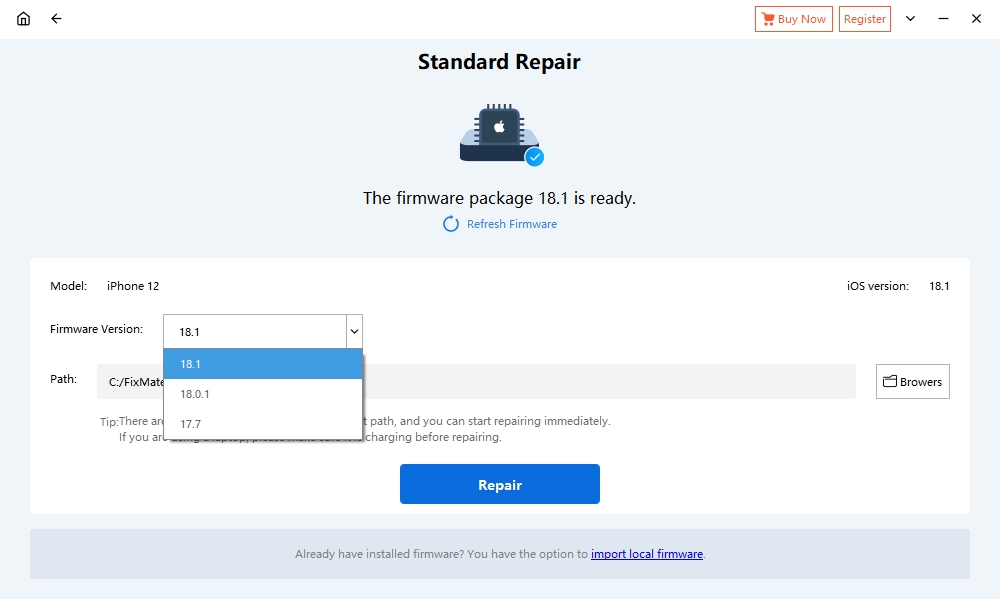
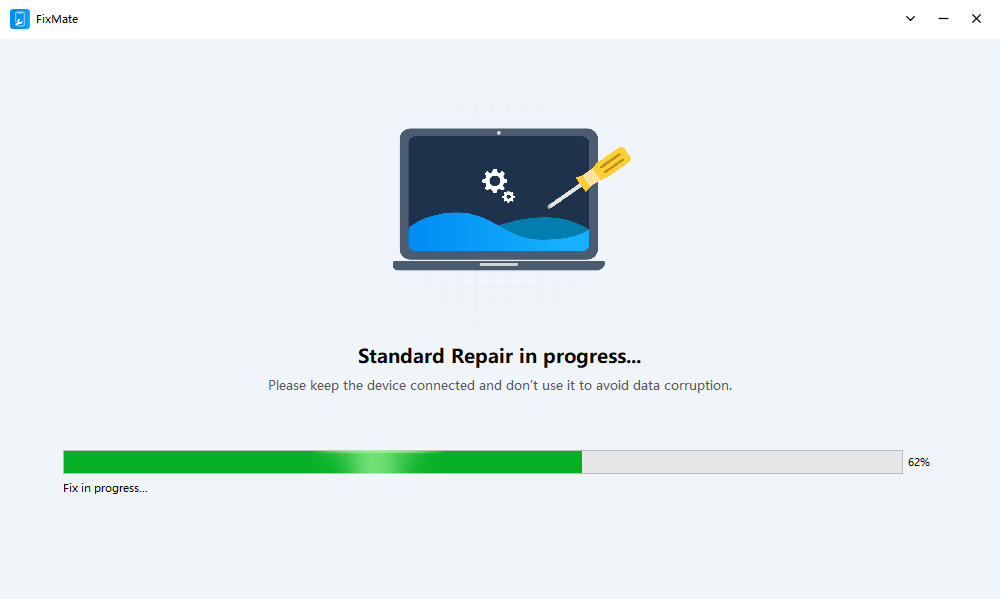
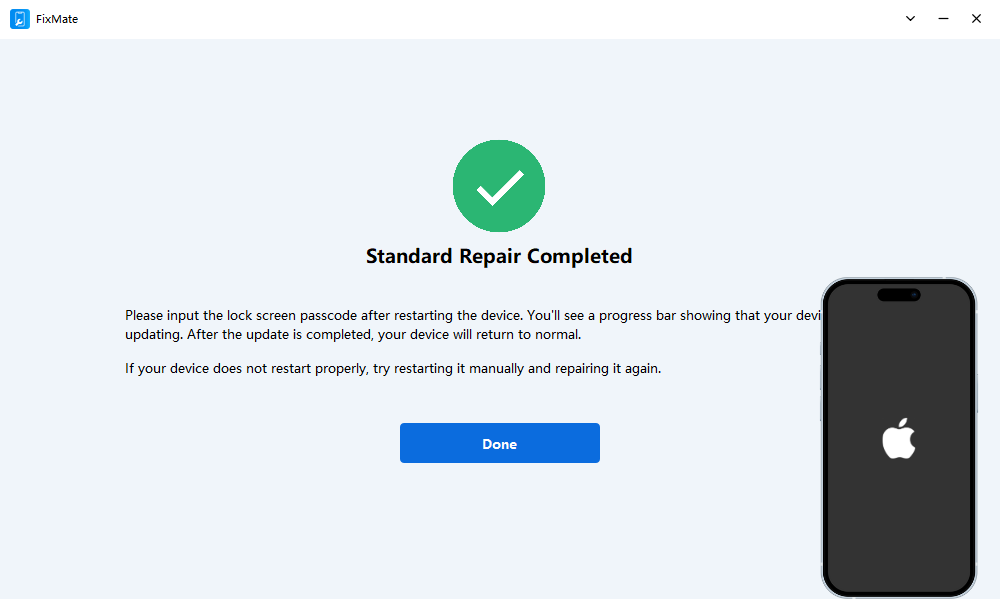
Step 3: Choose the Standard Repair option to resolve common issues without affecting any data. For severe problems, use Deep Repair (this will erase data).
4. Conclusion
Being stuck on the “Diagnostics and Repair” screen can be frustrating, but it’s a problem with practical solutions. Basic troubleshooting methods, such as force restarts and recovery mode, often resolve the issue. However, for a reliable and efficient fix, tools like AimerLab FixMate stand out as the ultimate solution.
Whether you’re a tech novice or a seasoned user, AimerLab FixMate provides a seamless way to restore your iPhone without risking your data. If you’re looking for a dependable, user-friendly tool to tackle stubborn iOS issues, AimerLab FixMate is highly recommended. Download it today and ensure your iPhone is always performing at its best!
- Methods for Tracking Location on a Verizon iPhone 15 Max
- Why Can’t I See My Child’s Location on iPhone?
- How to Fix iPhone 16/16 Pro Stuck on Hello Screen?
- How to Resolve Work Location Tag Not Working in iOS 18 Weather?
- Why My iPhone Is Stuck on the White Screen and How to Fix It?
- Solutions to Fix RCS Not Working on iOS 18


