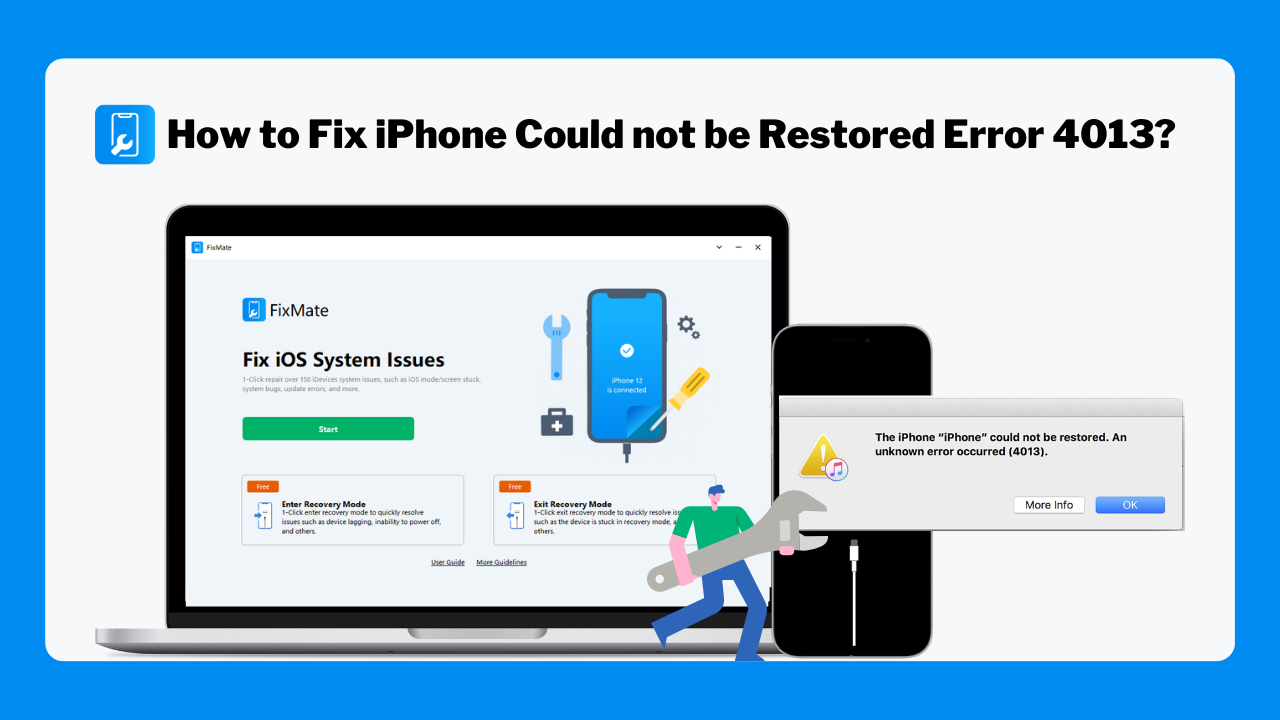
How to Fix iPhone Could not be Restored Error 4013?
In today’s digital age, smartphones have become an integral part of our lives, with Apple’s iPhone being one of the most popular choices. However, even the most advanced technology can encounter issues, and one common problem that iPhone users may face is error 4013. This error can be frustrating, but understanding its causes and how to resolve it can help you get your iPhone back to working order.
1. What is iPhone Error 4013?
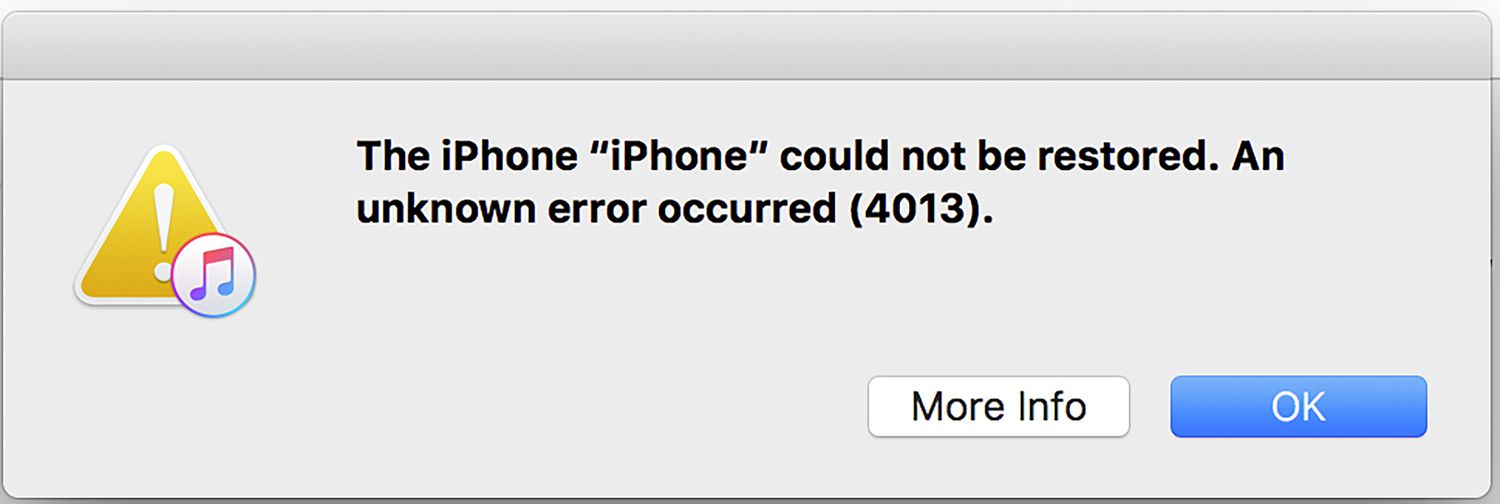
iPhone Error 4013 is a specific error code that appears during an iOS device update or restore process. It is frequently accompanied by the following message: The iPhone “***” could not be restored. An unknown error occurred (4013). This error typically results from problems with the iPhone’s hardware, software, or communication to your computer. Let’s investigate this error and find out what might have caused it.
2. Why Does iPhone Error 4013 Occur?
Several factors can contribute to the occurrence of iPhone Error 4013:
-
USB Cable and Port Issues: Faulty USB cables or damaged USB ports on your computer can interrupt the data transfer during the update or restore process, leading to this error.
-
Outdated iTunes: Using an outdated or incompatible version of iTunes can cause communication problems between your computer and iPhone, triggering Error 4013.
-
Software Glitches: Corrupted or incomplete iOS software downloads can result in issues when trying to install the update, causing this error.
-
Hardware Malfunctions: Hardware issues within the iPhone, such as a damaged logic board, faulty connectors, or a defective battery, can lead to Error 4013.
-
Security Software or Firewall: Overzealous security software or firewall settings on your computer might block the iTunes connection to Apple’s servers, causing the error.
-
Third-Party Accessories: Using non-certified third-party accessories, such as chargers or cables, can lead to compatibility problems and trigger this error.
3. How to Fix iPhone Error 4013
Now that we understand the potential causes of Error 4013, let’s explore the solutions to resolve this issue:
1) Check USB Cable and Port:
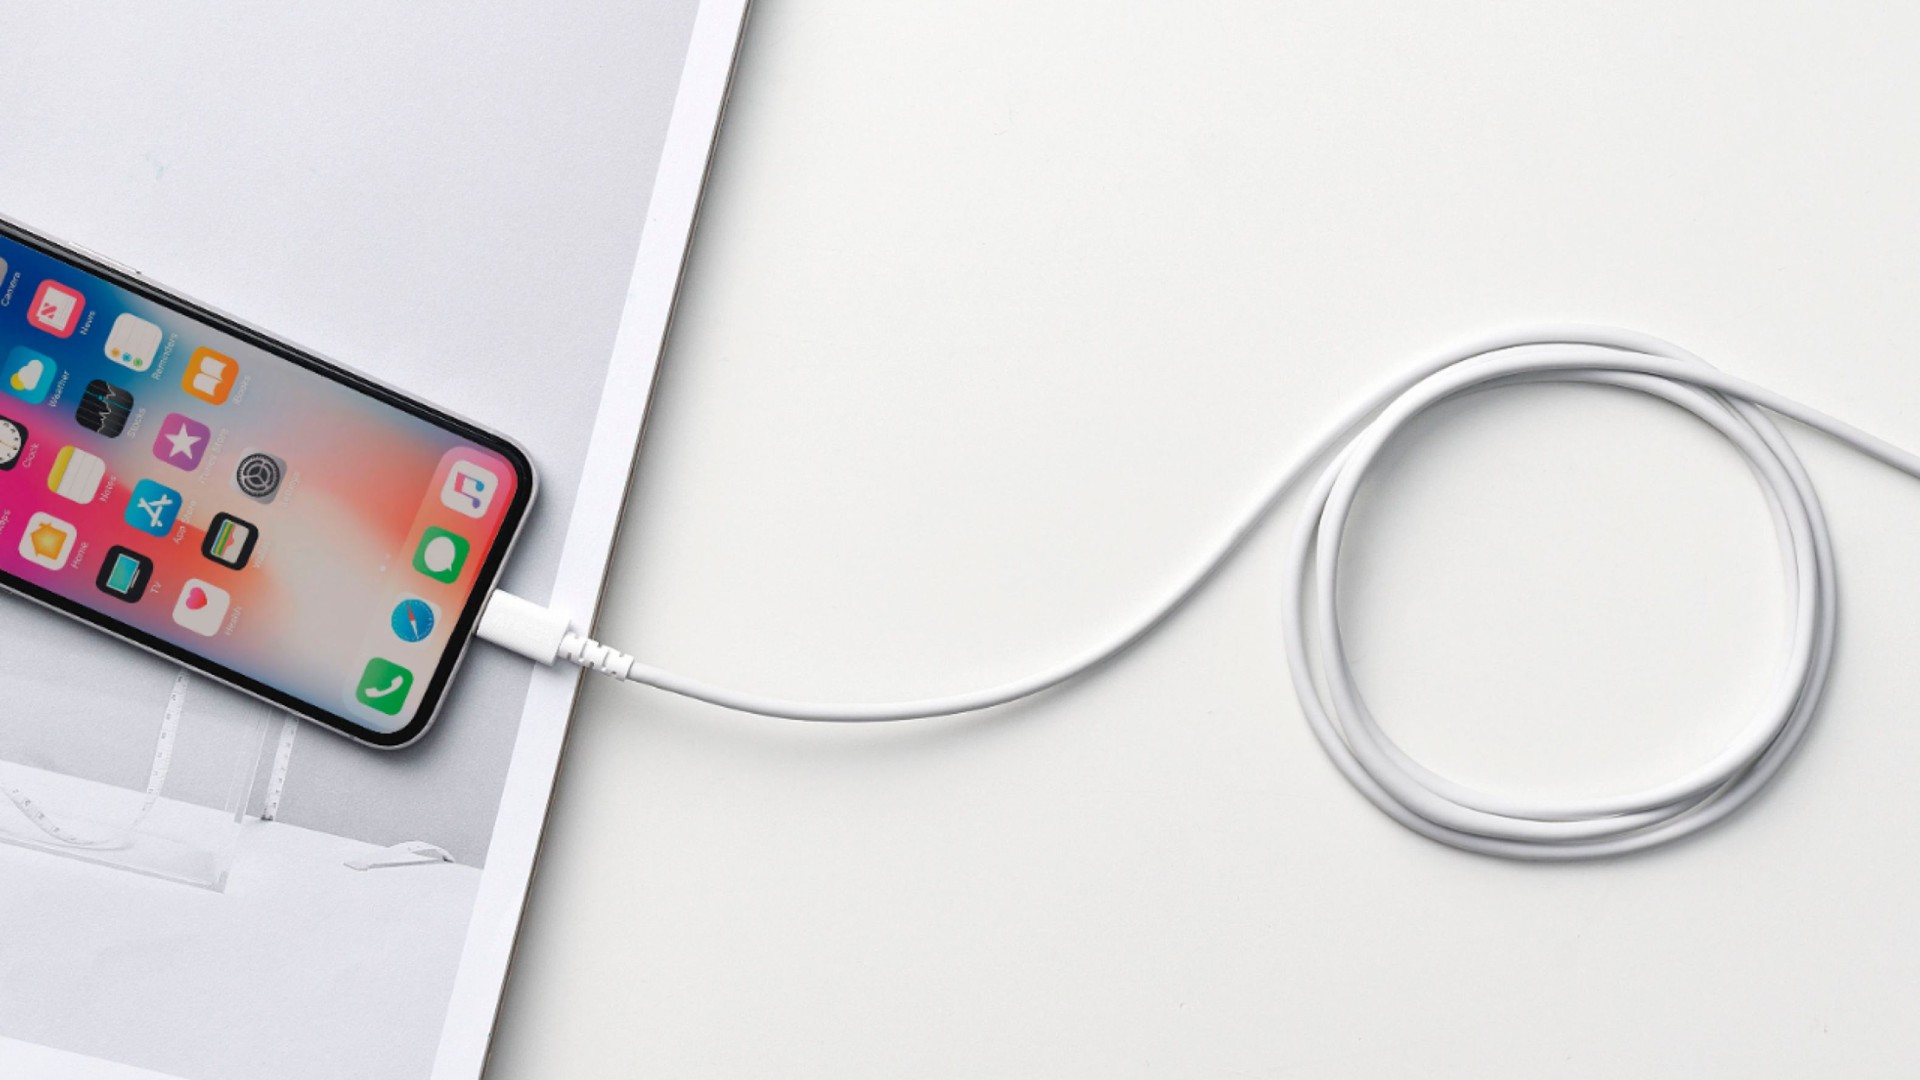
- Ensure you’re using a genuine Apple USB cable and connect it directly to a USB port on your computer, bypassing any USB hubs.
- Try a different USB cable or port to rule out hardware issues.
2) Update iTunes:
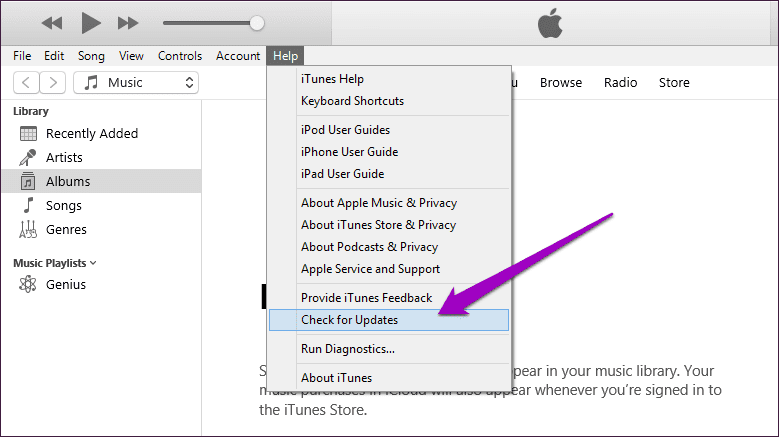
- Ensure that the most recent version of iTunes is installed on your computer and that it is properly configured. Update it to the most recent version if you haven’t already.
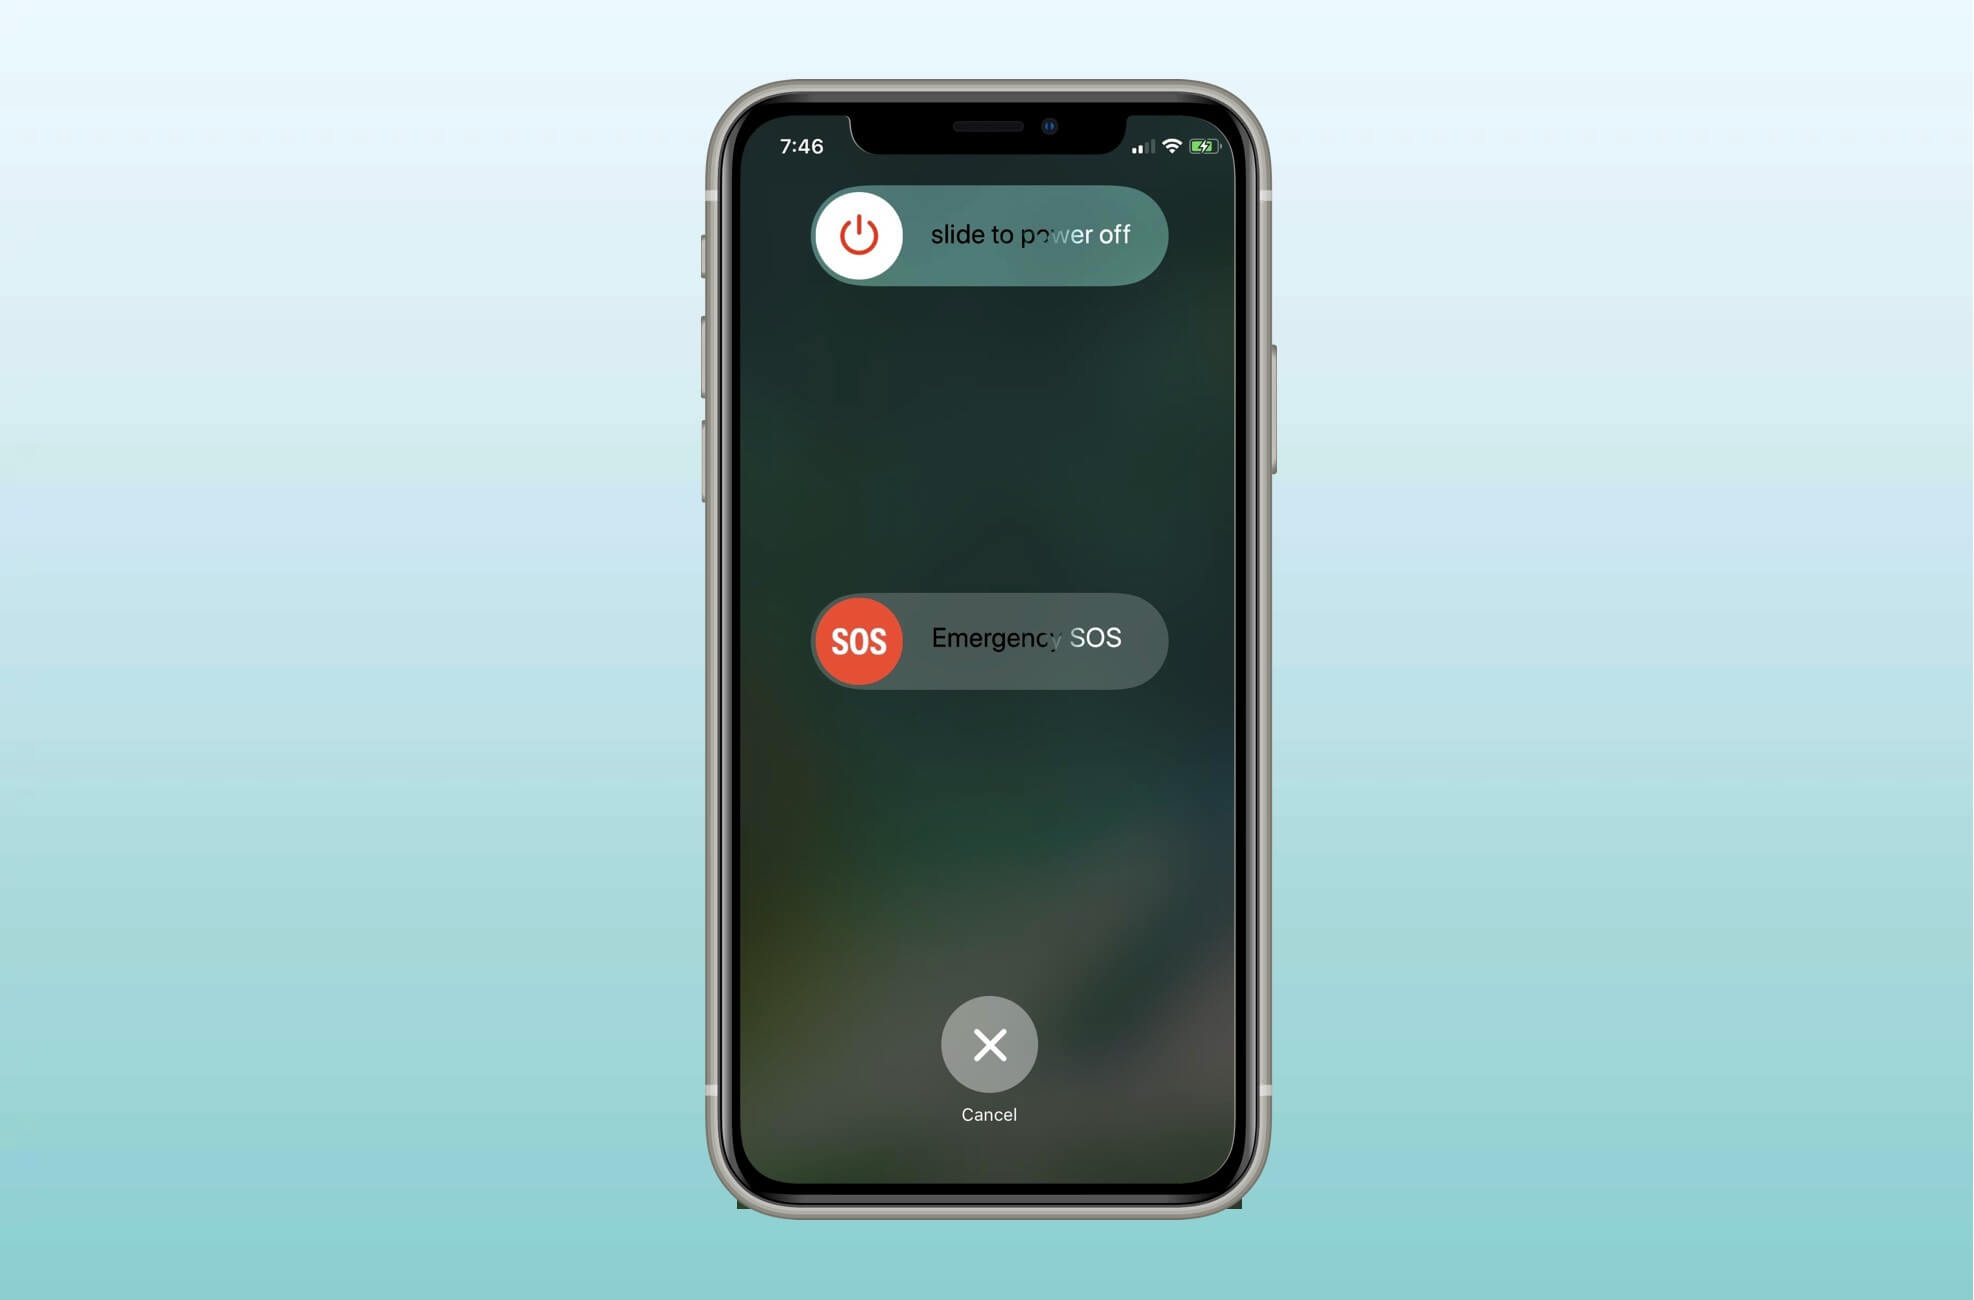
3) Force Restart iPhone:
- Perform a force restart on your iPhone by following the instructions for your specific model (e.g., iPhone 7, iPhone X).
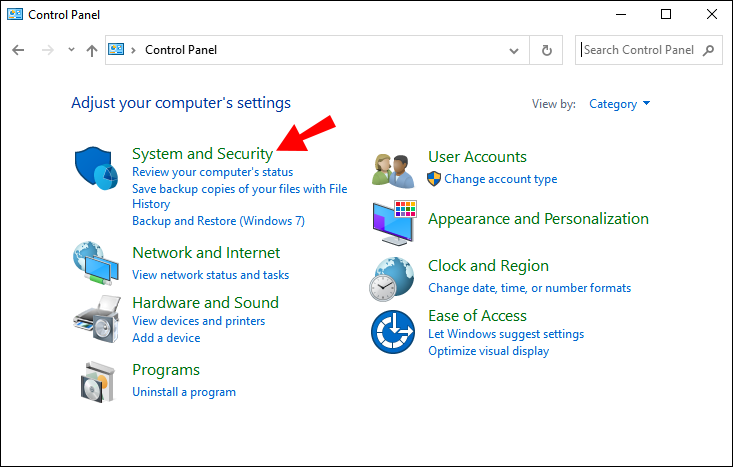
4) Disable Security Software/Firewall:
- Temporarily disable any security software or firewall on your computer and attempt the update/restore process again.
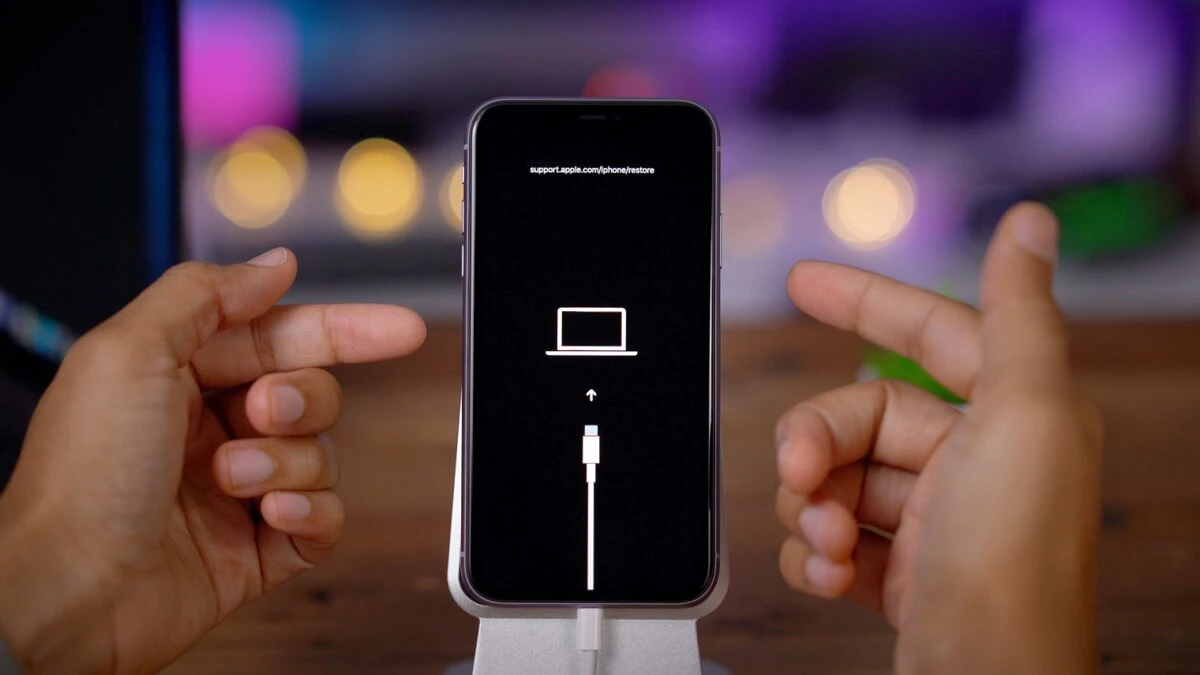
5) Use DFU Mode:
- If the issue persists, put your iPhone into Device Firmware Update (DFU) mode. This allows you to restore your iPhone with iTunes while bypassing the bootloader.
6) Avoid Third-Party Accessories:
- To prevent future occurrences of Error 4013, exclusively use Apple-certified accessories, including chargers and cables.
4. Advanced Method to Fix iPhone Error 4013
When you’ve exhausted conventional solutions and still find yourself grappling with Error 4013, an advanced tool like AimerLab FixMate can be a game-changer. AimerLab FixMate is a professional system repair tool that helps to resolve 150+ iOS/iPadOS/tvOS issues, including the iphone error code 4013, stuck in recovery mode, stuck in DFU mode, stuck on white Apple logo, black screen, reboot and other system issues. FixMate makes it possible for you to swiftly and simply resolve any system-related issues that may be affecting your Apple device at home.
Here is how to use AimerLab FixMate to resolve the iPhone 4013 error:
Step 1: Simply click the download button below to get AimerLab FixMate, then proceed to install and run it.
Step 2: Connect your iPhone to your PC using a USB cable, and FixMate will identify your device and show both the model and the current state of the device on the interface.
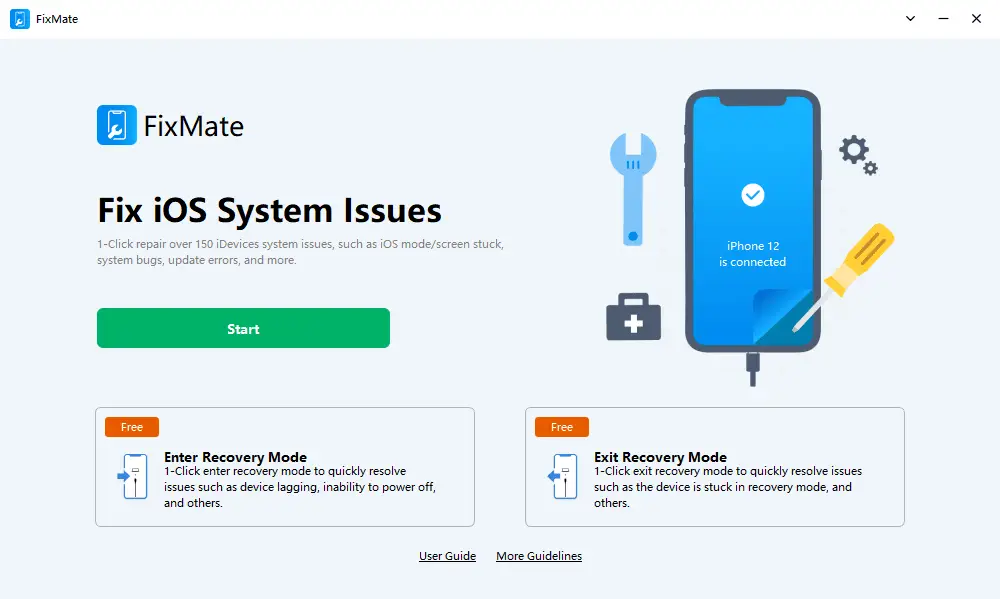
Step 3: Enter or Exit Recovery Mode (Optional)
Before using FixMate to fix your iOS device, you might need to boot it into or out of recovery mode. This will depend on how your device is currently configured.
To Enter Recovery Mode:
- If your device is unresponsive and needs to be restored, select “Enter Recovery Mode” in FixMate. On your iPhone, you will be prompted to recovery mode.
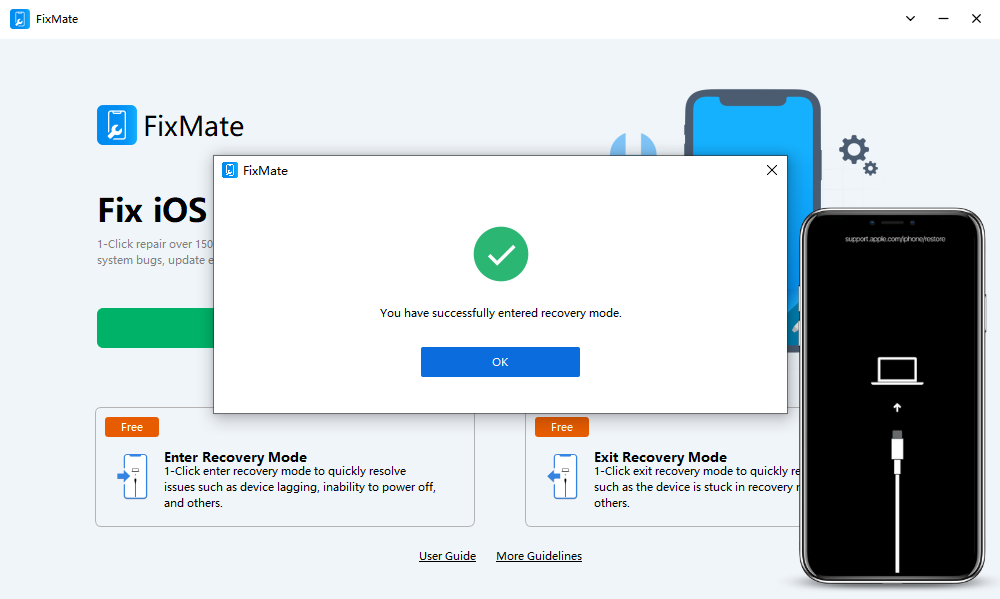
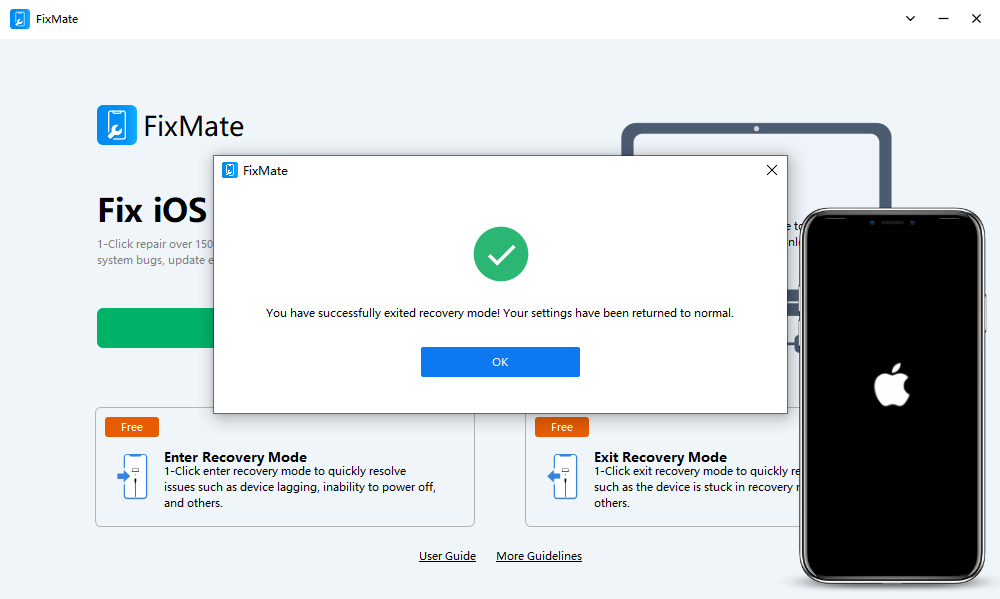
To Exit Recovery Mode:
- If your device is stuck in recovery mode, use FixMate to exit it by clicking the “Exit Recovery Mode” button. After leaving recovery mode using this, your device will be able to boot normally.
Step 4: Fix iOS System Issues
Let’s now review how to use FixMate to resolve further system problems on your iPhone.
1) On the FixMate home screen, click the “Start” button to access the “Fix iOS System Issues” feature.
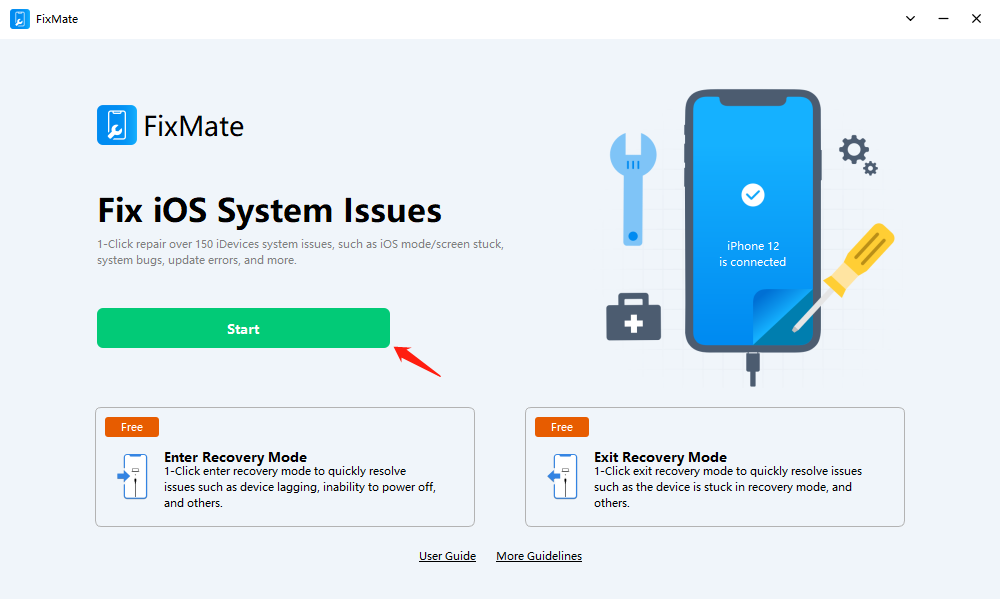
2) Select the standard repair option to begin fixing your iPhone’s problems.
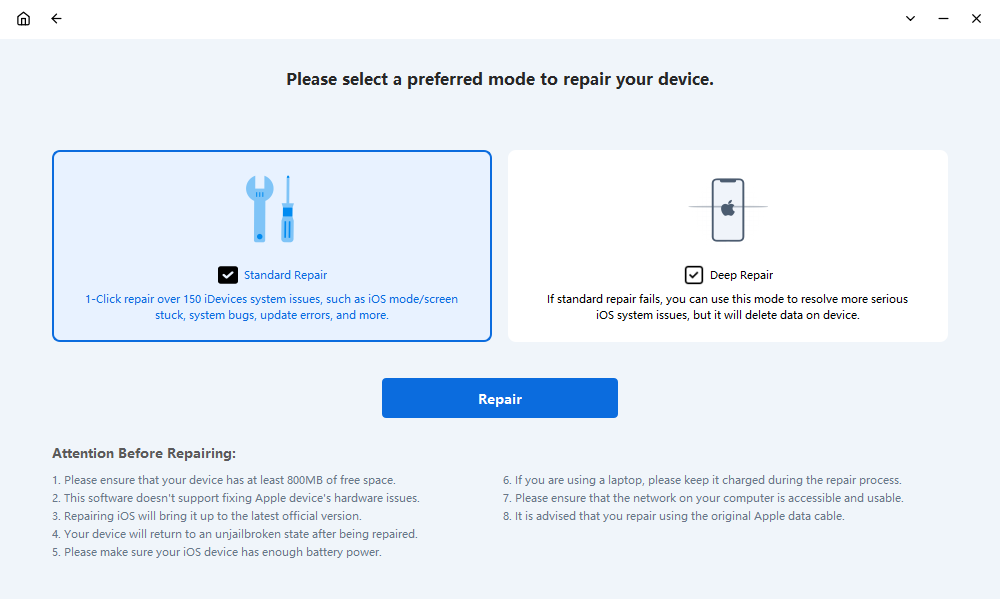
3) FixMate will ask you to download the most recent firmware package for your iPhone device, you need to select “Repair” to proceed.
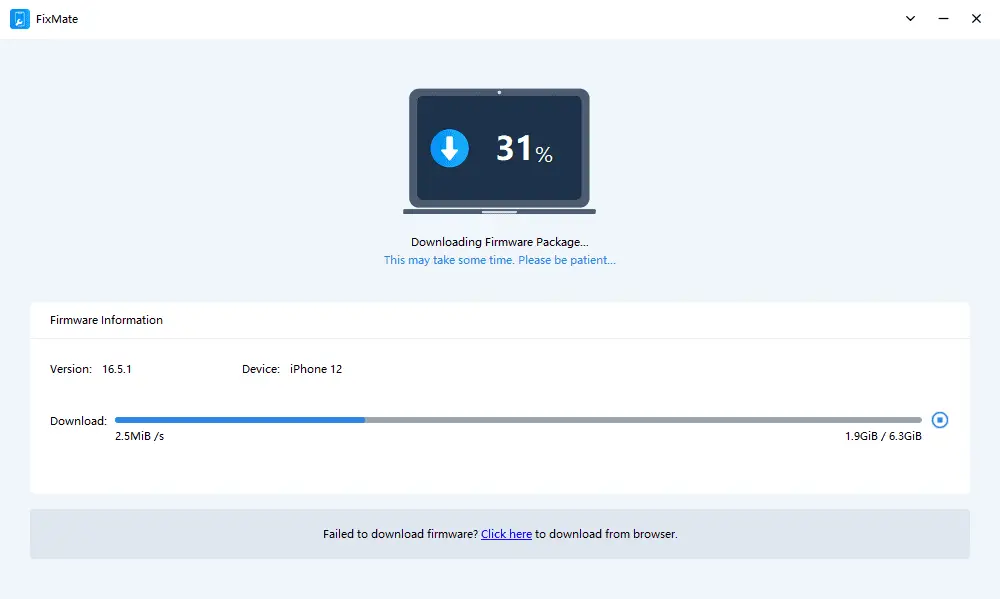
4) FixMate will immediately begin resolving your iOS problems after you have downloaded the firmware package.
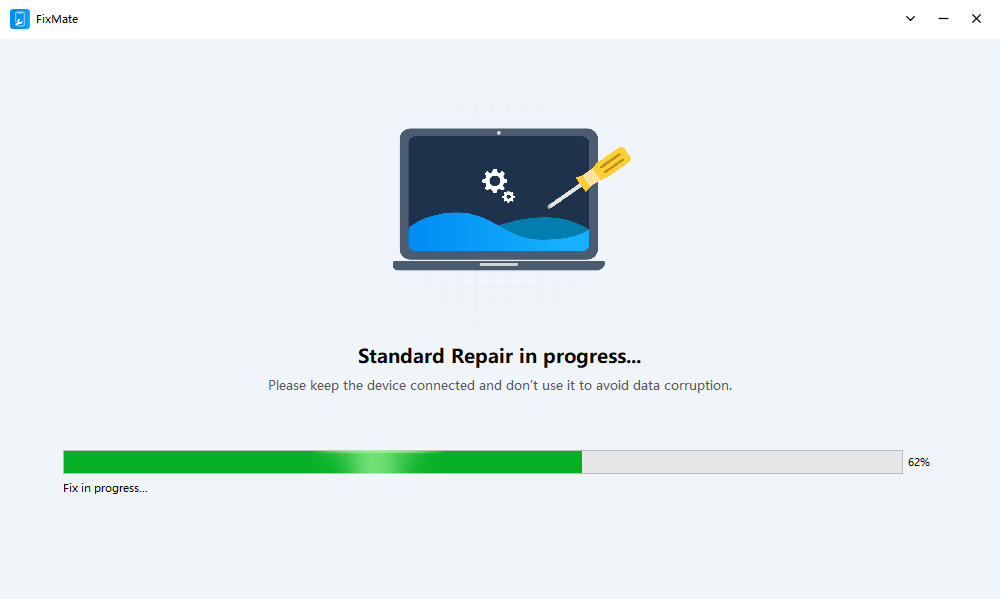
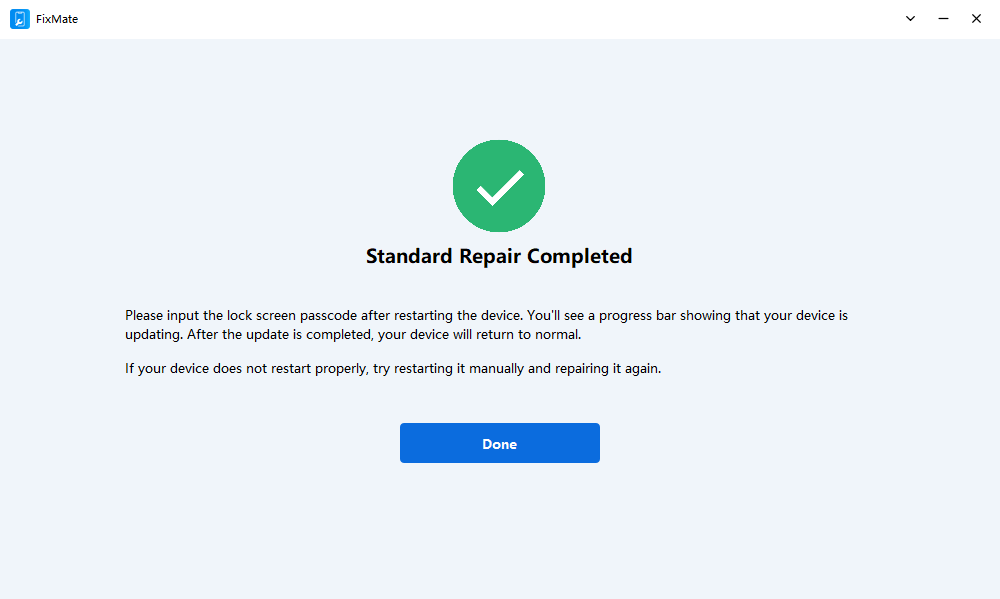
5) After the repair is complete, your iOS device will restart on its own, and FixMate will show “Standard Repair Completed” on the screen.
Step 5: Check Your iOS Device
Your iOS device should operate normally once the repair procedure is complete.
5. Conclusion
iPhone Error 4013 can be frustrating, but it’s not insurmountable. By understanding its causes and following the appropriate troubleshooting steps, you can often resolve the issue and get your iPhone back to working order. If all else fails, you can try to use the AimerLab FixMate to fix the system issues on your device, including the iPhone 4013 error, download FixMate and start fixing.
- Why Does My iPhone Screen Keep Dimming?
- iPhone Keeps Disconnecting from WiFi? Try These Solutions
- Methods for Tracking Location on a Verizon iPhone 15 Max
- Why Can’t I See My Child’s Location on iPhone?
- How to Fix iPhone 16/16 Pro Stuck on Hello Screen?
- How to Resolve Work Location Tag Not Working in iOS 18 Weather?


